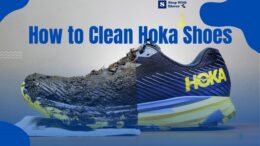
To clean hoka shoes, start by removing the insoles and laces. Then, use a soft brush to remove any loose dirt or debris.
Next, mix gentle soap and warm water, and gently scrub the shoes with a soft brush or cloth. Rinse off the soap with clean water and let the shoe air dry. Avoid using harsh chemicals or machine washing as it can damage the materials.
Keeping your hoka shoes clean is essential for maintaining their performance and lifespan. Regularly cleaning your shoes not only helps to remove dirt and odor but also allows them to remain in good condition for longer. However, knowing the proper way to clean your hoka shoes is crucial to avoid damaging them. We will provide easy-to-follow instructions on how to effectively clean your hoka shoes, ensuring that they stay fresh and perform at their best. So, let’s dive into the cleaning process and keep your hoka shoes looking and feeling their best.
Understanding The Cleaning Process
Understanding the cleaning process for hoka shoes entails differentiating between fabric and leather materials. It is crucial to choose the right cleaning products that are suitable for each shoe type, ensuring the optimal maintenance and longevity of the shoes. Before cleaning, it is important to prepare the shoes by removing any excess dirt and debris that may have accumulated.
Proper cleaning techniques and products will help preserve the quality of hoka shoes and keep them looking fresh and new. Follow these guidelines to ensure the cleaning process is effective and efficient.
Materials Needed for Cleaning Hoka Shoes
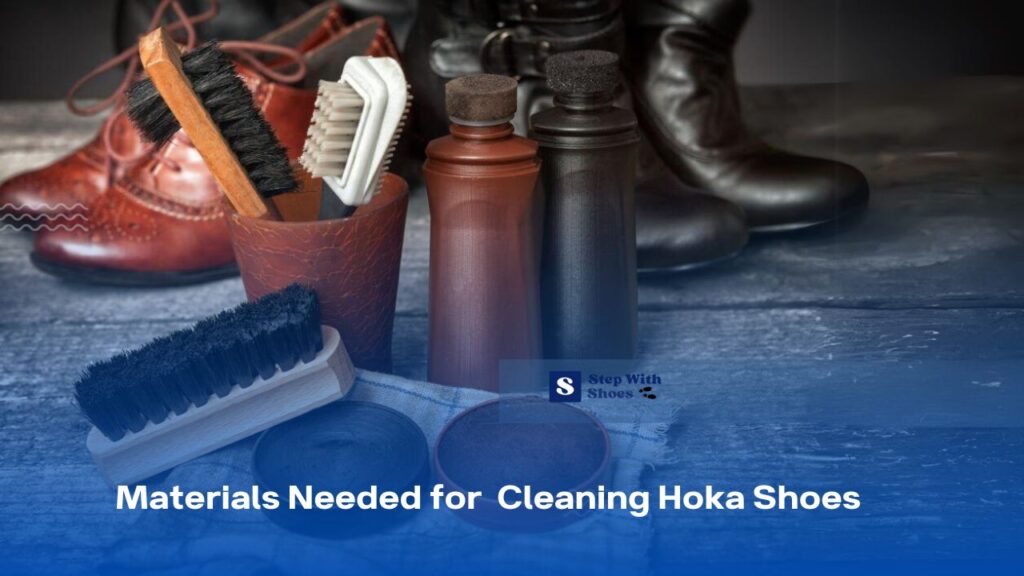
Before you embark on the journey to clean your Hoka shoes, it’s essential to gather the necessary materials and tools. Having the right supplies will make the cleaning process more efficient and effective.
List of cleaning materials and tools required
- Mild Detergent: The foundation of any shoe cleaning process is a mild detergent. Look for a gentle soap or shoe-specific cleaner to prevent damage to the shoe’s materials.
- Soft-Bristled Brush: A soft-bristled brush, like an old toothbrush or a shoe brush, is invaluable for scrubbing away dirt and stains from the shoe’s surface. Avoid stiff brushes that may scratch or damage the shoe.
- Sponge or Cloth: A soft sponge or cloth is needed for applying the cleaning solution and wiping away dirt. Choose a non-abrasive option to avoid any potential damage.
- Shoe Trees (Optional): Shoe trees help maintain the shoe’s shape and aid in drying after cleaning. They are particularly useful for leather or synthetic uppers.
- Warm Water: Warm water is necessary for creating a cleaning solution. Avoid using hot water, as it can damage the shoe materials.
- Bowl or Container: You’ll need a container to mix the cleaning solution in. It should be large enough to comfortably dip the brush or cloth.
- Towels or Paper Towels: Have a few clean towels or paper towels on hand to pat the shoes dry after cleaning.
Explanation of each item’s purpose
- Mild Detergent: Using a mild detergent helps break down dirt, grime, and stains without being too harsh on the shoe materials. It’s the primary cleaning agent for your Hoka shoes.
- Soft-Bristled Brush: The soft-bristled brush is used to scrub away surface dirt, mud, and stains. It’s gentle enough not to damage the shoe but effective at dislodging debris.
- Sponge or Cloth: These are used to apply the cleaning solution and gently rub the shoe’s surface. They help distribute the cleaning solution evenly and absorb the loosened dirt and detergent.
- Shoe Trees (Optional): Shoe trees help maintain the shoe’s shape during cleaning and drying, which is especially important for leather or synthetic uppers. They also prevent the shoe from creasing excessively.
- Warm Water: Warm water is necessary for creating a cleaning solution that effectively lifts dirt and stains. It helps the detergent work more efficiently.
- Bowl or Container: The container is used to mix the cleaning solution, allowing you to control the concentration of detergent and water. It also provides a space for dipping the brush or cloth.
- Towels or Paper Towels: Towels are essential for drying the shoes after cleaning. They help absorb excess moisture and ensure your Hoka shoes are ready to wear again.
By explaining the purpose of each item, readers will understand not only what materials are required but also why each one is essential in the shoe cleaning process. This added context will help them make informed choices when gathering their supplies.
Cleaning the Uppers
Cleaning Mesh or Fabric Uppers
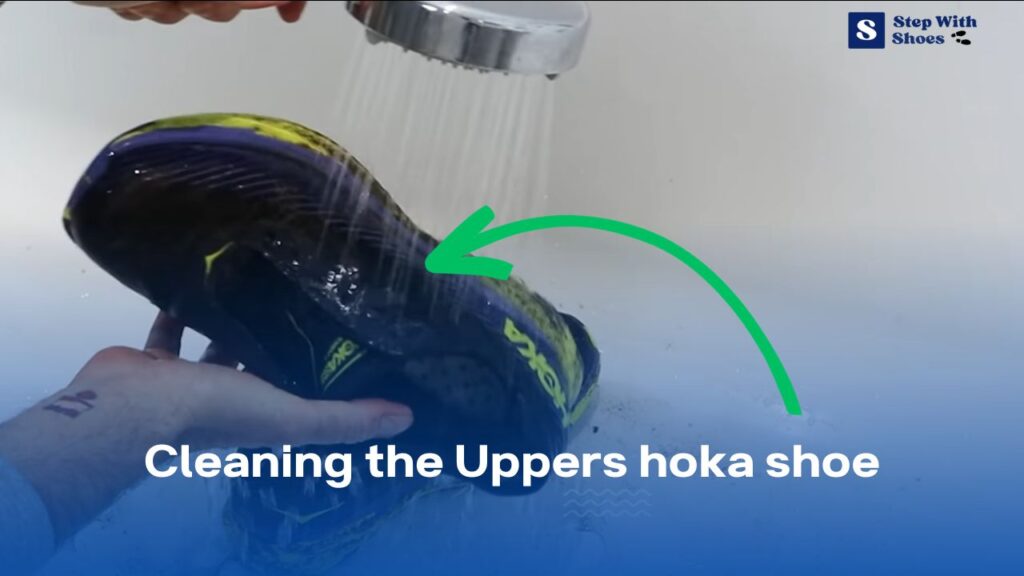
Cleaning mesh or fabric uppers on your beloved Hoka shoes is a breeze! First things first, pop those shoelaces out; it makes the whole process easier. Now, grab a soft-bristled brush and give your shoes a gentle scrub to get rid of loose dirt and dust. If you spot stubborn stains, don’t fret. Mix a little mild detergent with warm water, dip a sponge or cloth in the soapy solution, and gently work on those blemishes. Just make sure not to soak the fabric; too much water can lead to unpleasant odors. Once you’re done, rinse the cloth, wipe off any soap remnants, and let your shoe air dry at room temperature. Avoid direct sunlight or heat sources, and once they’re completely dry, lace them back up. Your Hoka shoes will look and feel brand new!
Cleaning Leather or Synthetic Uppers
Leather or synthetic uppers on your Hoka shoes require a bit of TLC. Begin by taking off the shoelaces; this step provides full access. Now, grab a cleaner designed specifically for leather or synthetics. Dab a small amount on a soft cloth or sponge, and gently wipe the surface using a circular motion. This will work wonders in getting rid of dirt, stains, and scuffs without harming the material. For tougher spots, a specialized leather or synthetic cleaner, following the product’s instructions, will do the trick. When your shoes are all clean, let them air dry at room temperature. Don’t rush this by using heaters or hair dryers; they can cause damage. To keep leather soft and supple, consider applying a leather conditioner once they’re dry. Re-lace your shoes, and voilà – your leather or synthetic Hoka shoes will look amazing!
Special Considerations for Different Materials
Keep in mind, that not all Hoka shoes are made equal! If your pair is suede or nubuck, they need a little extra care. Always follow the manufacturer’s advice and consider using specific cleaning products designed for those materials. A little extra effort ensures your shoes stay in top-notch condition.
Tips for Dealing with Stubborn Stains
Stubborn stains can be a nuisance but fear not. For those challenging marks, like oil or ink, try spot-cleaning with a stain remover suitable for your shoe material. Always test it on a hidden area first to be safe. If that pesky stain refuses to budge, consider taking your shoes to a professional cleaner who’s skilled in tackling these tricky spots without harming your favorite kicks. Your Hoka shoes will thank you for it!
Cleaning the Midsoles
How to Clean EVA or Foam Midsoles
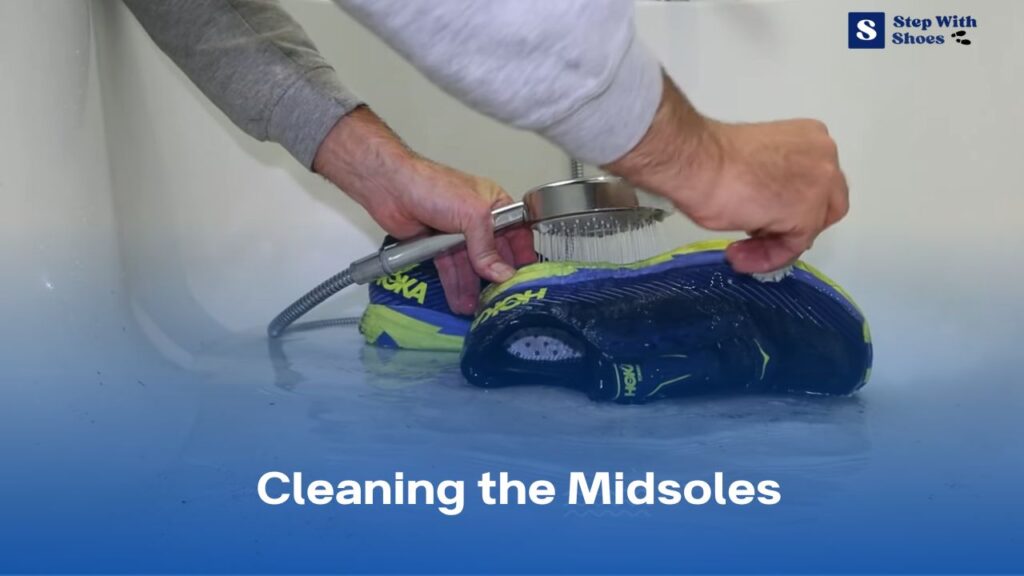
Cleaning those cushiony EVA or foam midsoles in your trusty Hoka shoes is a piece of cake! First, take off the laces; it makes life easier. Give them a good brush to remove loose dirt and debris – an old toothbrush or cloth will do. For the stubborn stuff, mix a smidge of mild detergent with warm water. Dip a sponge or cloth in the soapy mix, wring it out, and gently scrub those midsoles. Be gentle; we don’t want to soak them. Rinse the cloth, wipe off any soap, pat the midsoles dry, and let them air out at room temperature. Avoid blasting them with heat – that could ruin the foam. Once they’re dry, put your laces back in, and your Hokas will feel brand new!
Caring for Cushioning Technology
Hoka shoes are all about that comfy cushioning tech. When you’re cleaning EVA or foam midsoles, remember: don’t mess with the cushioning. No harsh chemicals or tough brushes. You don’t want to wear it down. If you’re not sure what’s safe, check the manufacturer’s recommendations. Caring for the cushioning means keeping your Hokas comfy and performing well.
Addressing Scuffs and Marks
Scuffs happen, but you can fix them up. For minor ones, try a pencil eraser – gently rub away the marks. If that doesn’t do it, mix a paste of baking soda and water, then rub it on the scuffs. Use a soft cloth to gently work it in. For the really tough marks, try a specialized midsole cleaner or magic eraser. Always test these products in a hidden spot to be safe. Fixing scuffs will keep your Hokas looking fresh and ready to roll!
Cleaning the Outsoles
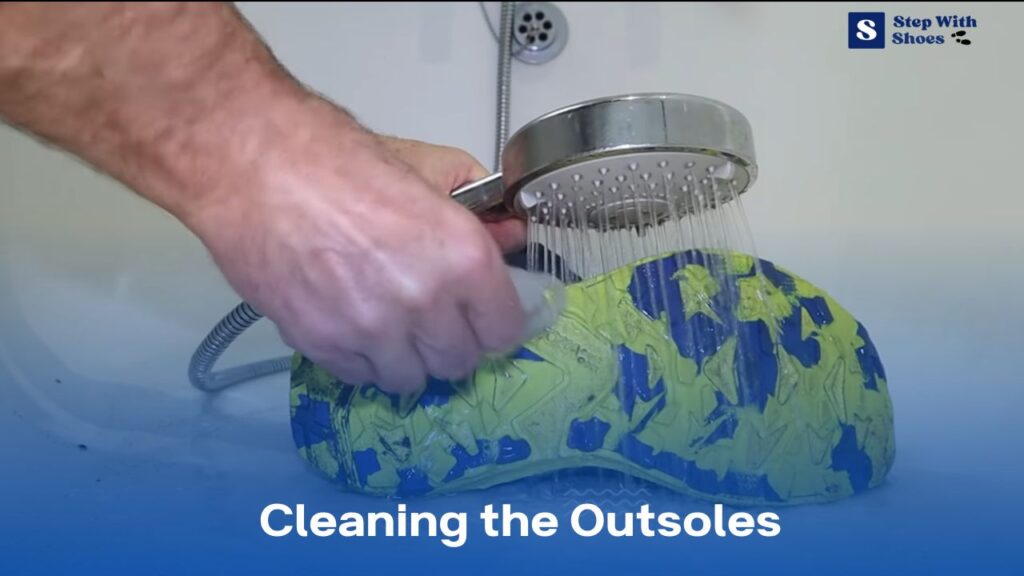
Methods for Cleaning Rubber or Durable Outsoles
Cleaning the rugged rubber or durable outsoles on your Hoka shoes is a breeze. Start by kicking off the shoelaces, giving you full access to the outsoles. Grab a brush or cloth, anything with soft bristles will do, and sweep away loose dirt and debris. For the stubborn stuff, a mix of warm, soapy water works like magic. Dip your tool in, scrub those outsoles gently, and watch the dirt vanish. Don’t forget to rinse and wipe off any soapy leftovers.
After the cleaning fun, let the outsoles air dry at room temperature. Steer clear of direct heat sources; they could harm the rubber. Once they’re good and dry, put the laces back in, and your Hoka shoes are good to go.
Special Considerations for Trail hoka Shoes
Trail shoes are the adventurers’ choice, and they do need some extra love. Check out those lugs – the ridges on the outsoles. These are what keep you from slipping on rough terrain. Make sure they’re free from caked mud and debris. Grab a brush or even a toothpick, and gently remove any gunk stuck between the lugs. It’s a small step, but it’s what keeps your trail shoes at their best.
Removing Caked Mud and Rocks
Mud-caked outsoles are a badge of honor for outdoor enthusiasts. When the mud dries, give your shoes a good shake to dislodge the chunks. Use a handy plastic tool, like a credit card, to scrape off the last bits. And when it’s those stubborn rocks or pebbles, tap your shoes gently on a hard surface to set them free. Your Hoka shoes will be all set for your next adventure!
Cleaning Fabric Hoka Shoes
To clean fabric hoka shoes, start by using a mild detergent and a soft brush on the upper. Gently scrub the shoe to remove dirt and stains. For brightening the white midsole, make a mixture of baking soda and water.
Apply the paste to the midsole and scrub with a brush. Rinse thoroughly with water. If there are tough stains, mix vinegar and water in a solution. Apply the solution and let it sit for a few minutes. Scrub the stains with a brush, then rinse with water.
Be sure to air dry the shoes completely before wearing them again. Following these steps will help keep your hoka shoes clean and looking their best.
Cleaning Leather Hoka Shoes
To clean leather hoka shoes, start by conditioning the leather with a product that restores suppleness and prevents cracking. Next, remove dirt and stains using a leather cleaner or saddle soap. Finish by applying a leather protector to maintain the shoe’s quality and longevity.
Maintaining The Shoelaces And Insoles
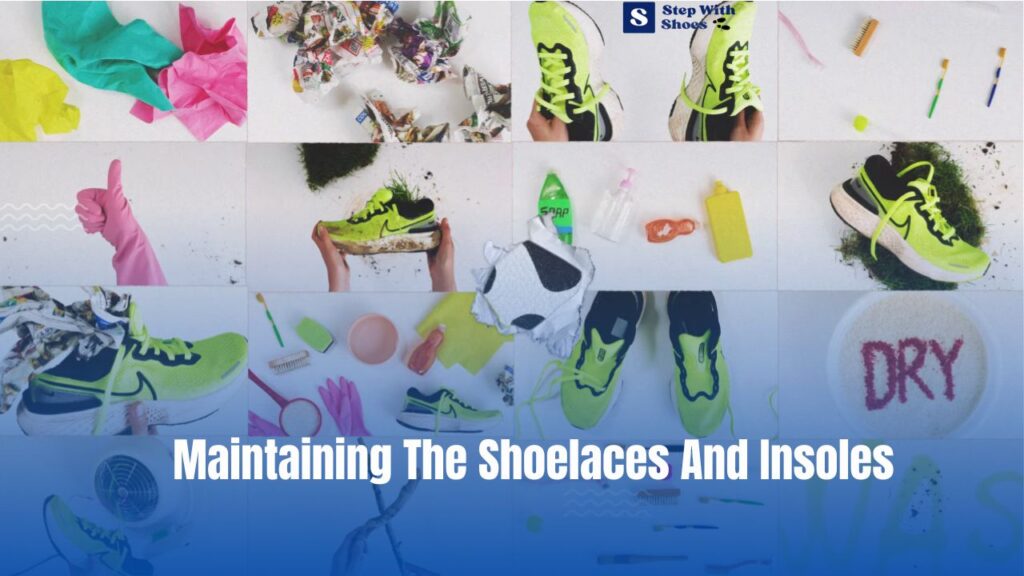
To maintain your hoka shoes, start by removing and cleaning the shoelaces separately. Use baking soda and water to clean and deodorize the insoles. If the shoelaces or insoles are worn out, consider replacing them for enhanced comfort and performance. Keeping your shoes clean not only extends their lifespan but also prevents odors and improves overall hygiene.
Regularly cleaning and maintaining your hoka shoes will ensure they continue to provide optimal support and cushioning for your feet. Don’t neglect the small details like shoelaces and insoles, as they play a significant role in the overall functionality and comfort of your shoes.
By following these simple maintenance steps, you’ll keep your hoka shoes in top condition and get the most out of your investment.
Drying And Storing Hoka Shoes
Drying and storing hoka shoes properly is essential to maintain their condition. After cleaning, air-dry the shoes naturally to prevent any damage. Avoid exposing them to direct sunlight or excessive heat during this process. Instead, choose a shady spot or a well-ventilated area.
Once the shoes are dry, store them in a cool and dry place. This will help maintain their shape and prevent any mold or mildew from forming. Find a spot away from moisture, such as a closet or a shoe rack.
Follow these steps to keep your hoka shoes clean, dry, and ready for your next adventure.
Storing Your Cleaned Hoka Shoes
Proper Storage Practices
Storing your freshly cleaned Hoka shoes right is the key to keeping them in great shape. After your cleaning session, let them air-dry completely – no leftover moisture allowed. Find a cool, dry spot for them; avoid damp basements or super hot attics – extreme temperatures and humidity can cause trouble.
To maintain their shape, think about using shoe trees or simply stuff them with crumpled newspaper or a rolled-up cloth. It’s a quick and easy way to ensure your shoes look great every time you slip them on.
Using Shoe Bags or Containers
Shoe bags and containers are like bodyguards for your Hoka shoes. They protect against dust, light, and scuffs when they’re not on your feet. Slide each pair into their own shoe bag to keep them tidy, especially if you’re short on space or planning a trip. For those who prefer containers, go for clear, plastic ones with ventilation. The clear ones let you see what’s inside, making it a breeze to find your favorite pair. Ventilation keeps the air flowing and prevents any unpleasant odors. Remember, one pair per container is the way to go, so they don’t accidentally scuff or squish each other.
Tips For Extending The Lifespan Of Hoka Shoes
To extend the lifespan of your hoka shoes, it’s important to avoid excessive exposure to water and harsh chemicals. Regularly cleaning and maintaining your shoes will prevent dirt build-up. One effective tip is to rotate between multiple pairs of shoes, which reduces wear and tear.
By adhering to these guidelines, you can ensure that your hoka shoes remain in top condition for longer. Keep in mind that starting each sentence with commonly overused words or phrases should be avoided, as well as using repetitive terms.
Writing in an active voice and keeping sentences brief and under 20 words will make the content easy to read and seo friendly. Remember to make the writing human-like, unique, plagiarism-free, and ai detection proof.
Frequently Asked Questions About How To Clean Hoka Shoes
How Often Should I Clean My Hoka Shoes?
It is recommended to clean your hoka shoes after every 20-30 miles of usage. Regular cleaning helps to prevent the buildup of dirt, sweat, and odor, providing a longer lifespan to your shoes and ensuring optimal performance.
What Is The Best Way To Clean Hoka Shoes?
To clean your hoka shoes, remove the laces and insoles, then gently scrub the upper with a soft brush and mild soap. Rinse thoroughly and air dry. Avoid machine washing or using harsh chemicals, as they can damage the materials and affect the cushioning.
Can I Put My Hoka Shoes In The Washing Machine?
No, it is not recommended to put your hoka shoes in the washing machine. The agitation and exposure to excessive water can damage the shoes’ construction and cushioning. It is best to hand wash them following the manufacturer’s instructions and air dry them.
Conclusion
Cleaning your hoka shoes is a crucial step in maintaining their quality and extending their lifespan. By following the proper cleaning techniques outlined in this blog post, you can keep your shoes looking and performing their best. Regularly removing dirt and debris, hand washing with mild soap, and air drying are simple yet effective ways to keep your hokas in top shape.
Additionally, using a shoe deodorizer and properly storing your shoes will help eliminate odors and prevent damage. Remember to check the manufacturer’s guidelines for any specific cleaning instructions, as certain materials may require special care. Investing a little time in cleaning and caring for your hoka shoes will ensure they continue to provide the support and comfort you expect, helping you achieve your fitness goals while keeping your feet happy.
So, keep your hooks clean and enjoy your next adventure in style and comfort!

