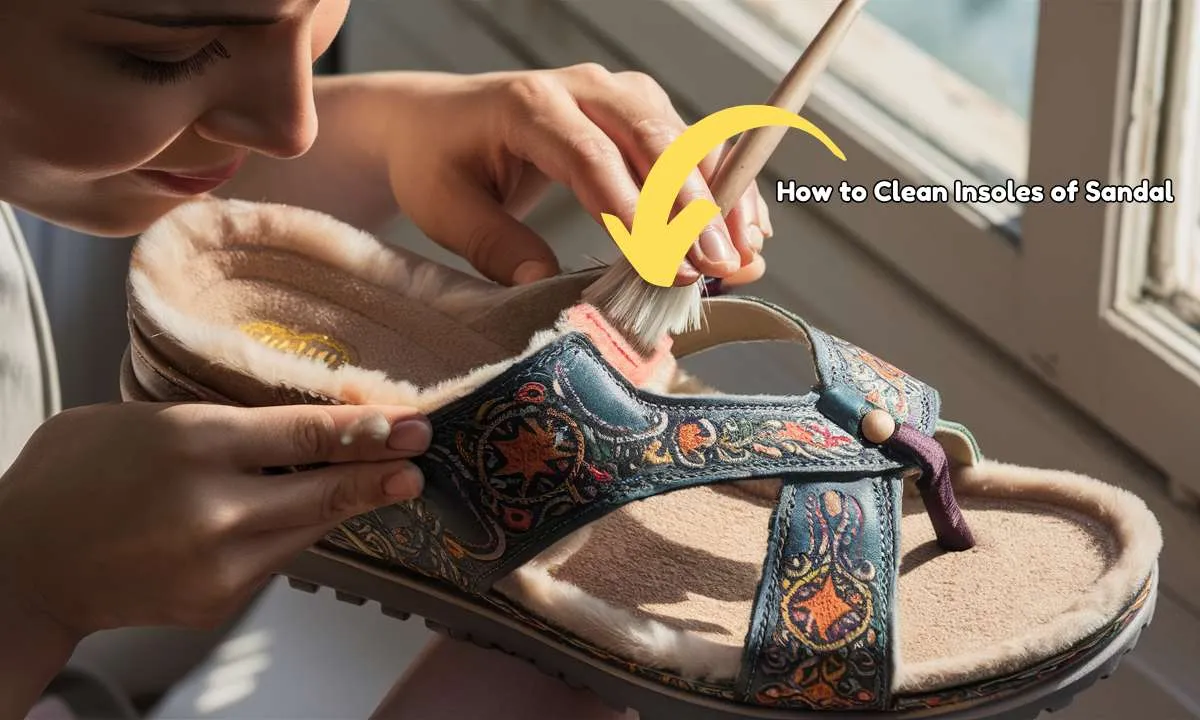
To clean the insoles of sandals, remove them if possible and scrub gently with a mixture of baking soda and water. Air dry completely before reinserting them into your sandals.
Keeping your sandals fresh and odor-free is essential for both comfort and hygiene. Dirty insoles can harbor bacteria and lead to unpleasant smells, so regular cleaning is important. Whether you’ve trekked through city streets or strolled along sandy beaches, your sandals have likely accumulated dirt and sweat.
A simple cleaning routine can extend the life of your sandals and maintain a healthy environment for your feet. Engaging in proper footgear maintenance not only ensures a pleasant wearing experience but also prevents the build-up of grime and bacteria. This guide provides a straightforward approach to keeping the insoles of your sandals clean, ensuring they remain a favorite in your footwear collection.
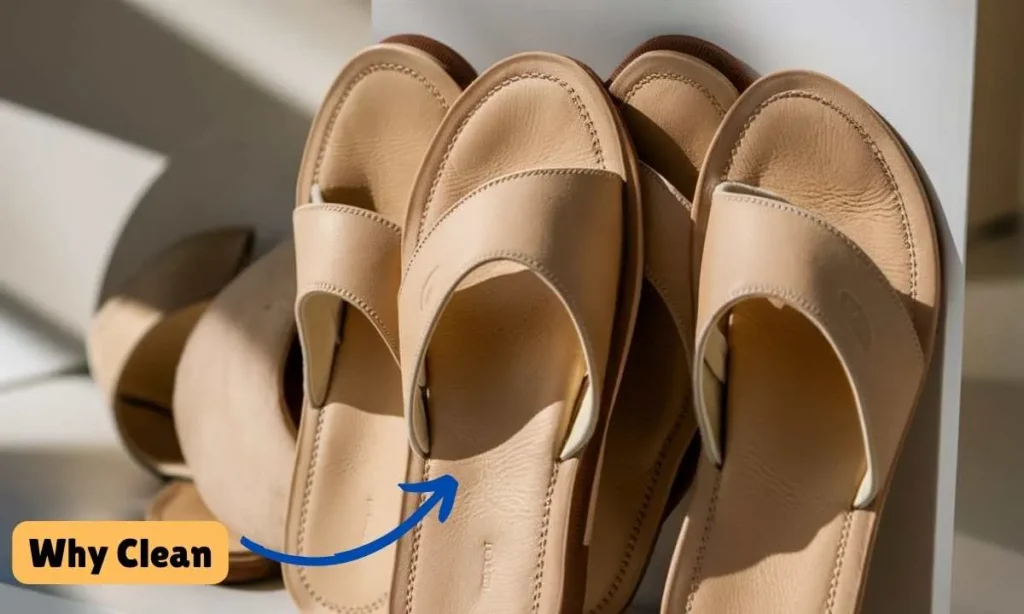
Why Clean Sandals Insoles?
Do you wear sandals often? If yes, it’s crucial to keep their insoles clean. Dirty insoles can make your feet unhappy. They can get smelly and cause foot problems. Cleaning them keeps your feet fresh and your sandals lasting longer. Let’s dive into why and how to keep those insoles sparkling.
Importance Of Clean Insoles
Keeping the insoles of your sandals clean is more than just about looking good. It’s about health and comfort. Here’s why:
- Stops bacteria and fungus growth: Warm and moist insoles are perfect for germs. Cleaning stops these bad guys.
- Prevents foot problems: Dirty insoles can lead to athlete’s foot or toenail fungus. Clean ones keep feet happy.
- Reduces bad smells: Sweat + bacteria = stinky feet. Regular cleaning keeps sandals smelling fresh.
Think of it like this:
| Clean Insoles | Benefits |
|---|---|
| Fresh smell | ✓ |
| No germs | ✓ |
| Happy feet | ✓ |
Cleaning insoles isn’t hard. But it’s a step we often skip. Let’s change that and give our feet the care they deserve.
Benefits Of Regular Cleaning
Regularly cleaning your sandals’ insoles brings lots of good things:
- Longer-lasting sandals: Clean insoles mean sandals don’t wear out as fast. This saves money.
- Better foot health: Keeping insoles clean helps prevent foot issues. This means less foot pain.
- More comfort: Clean insoles feel better. They make walking or standing more pleasant.
Here’s a simple way to see the benefits:
- Start with dirty sandals.
- Clean them regularly for a month.
- Notice less smell, better comfort, and happier feet.
By making insole cleaning a habit, you’ll enjoy these perks all the time. It’s a small step with big rewards. Your feet will thank you!
Gather The Necessary Supplies
Let’s talk about how to make the insoles of your sandals clean and fresh. First, we need to gather the right tools and materials. This step is super important. Without the right supplies, cleaning might not work well. So, let’s see what you’ll need to get started.
What You’ll Need
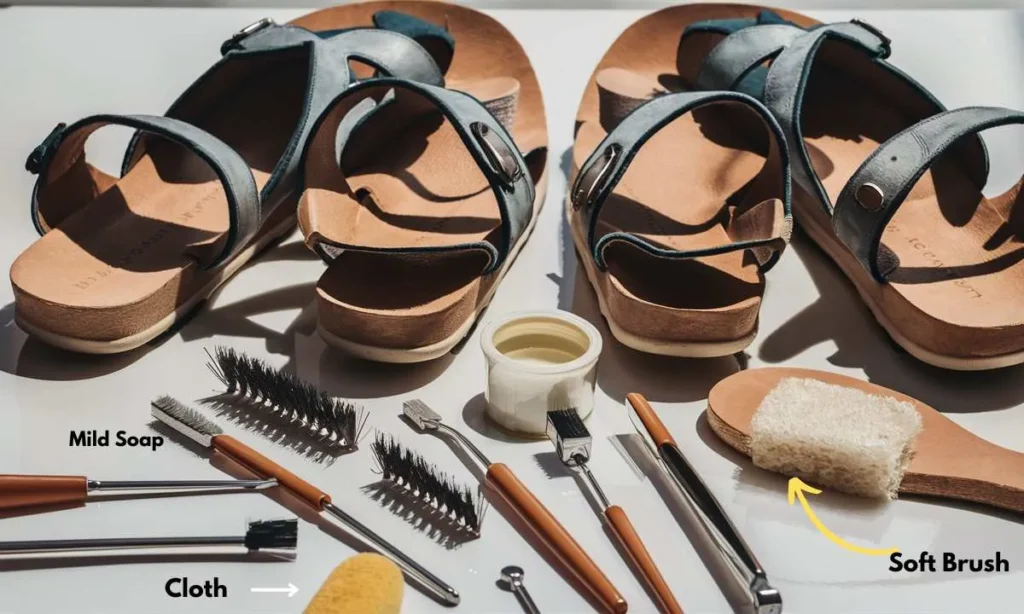
To clean your sandal insoles properly, start by collecting these basic items. Each one plays a key role in the cleaning process. Make sure you have everything before you begin.
- Soft Brush: A toothbrush or nail brush works great.
- Mild Soap: Liquid dish soap or laundry detergent is perfect.
- Warm Water: It helps to mix with soap for effective cleaning.
- Cloth: A soft cloth or towel to wipe down the insoles.
- Baking Soda: Great for removing bad smells.
Here’s a quick table to summarize:
| Item | Use |
|---|---|
| Soft Brush | To scrub the insoles |
| Mild Soap | For making the cleaning solution |
| Warm Water | To mix with the soap |
| Cloth | For drying the insoles |
| Baking Soda | To remove odors |
Optional Supplies
For those looking to go the extra mile in cleaning their sandal insoles, consider these optional supplies. They can help make your sandals even cleaner or deal with tough stains.
- White Vinegar: It’s great for removing tough stains and odors.
- Hydrogen Peroxide: Use it to tackle really stubborn stains.
- Essential Oils: A few drops can leave a pleasant scent.
- Old Toothbrush: Use instead of a soft brush for harder to reach areas.
Here’s a simple list to keep track:
| Optional Item | Why It’s Helpful |
|---|---|
| White Vinegar | For stains and odors |
| Hydrogen Peroxide | For stubborn stains |
| Essential Oils | To add a fresh scent |
| Old Toothbrush | For detailed cleaning |
Remember, these optional supplies are not a must. Use them based on your specific needs. They can offer additional help for certain cleaning challenges.
Remove Insoles From Sandals
Keeping sandals fresh and clean is key for comfort and hygiene. A crucial step in this process is to remove the insoles. Over time, insoles can collect dirt, sweat, and bacteria. This can cause a bad smell and even affect foot health. Knowing the right way to remove insoles ensures they stay in good shape for longer. Let’s dive into the details of how to properly unfasten and take out the insoles from your sandals.
Unfasten The Sandals
The first step is to unfasten your sandals. Check for any hooks, straps, or loops that might hold the insole in place. Make sure to release these fastenings gently to avoid damaging the sandals. Here are some tips to unfasten different types of sandals:
- Velcro straps: Pull them apart slowly to avoid weakening the grip over time.
- Buckles: Open them fully and lay the straps flat to get better access to the insole.
- Laces: Untie any knots and loosen the laces to make removing the insole easier.
Some sandals have insoles that are not meant to be removed. Check if your insoles are fixed or removable. If they are fixed, do not force them out. You might damage both the insole and the sandal.
| Type of Sandal | Fastening Method | Untie knots, and loosen laces. |
|---|---|---|
| Velcro | Straps | Pull apart gently. |
| Buckle | Metal or plastic buckle | Open buckle and flatten straps. |
| Lace-up | Laces | Untie knots, loosen laces. |
Take Out The Insoles Carefully
Once the sandals are unfastened, it’s time to carefully remove the insoles. Gently lift the edges of the insole, starting from the heel. Ease it out slowly to prevent tearing. If the insole sticks, do not pull hard. Instead, wiggle it side to side to loosen it gradually. Here’s how to take them out without harm:
- Start at the heel and lift the edge of the insole.
- Move your fingers along the edges, easing the insole away from the sandal.
- If the insole resists, wiggle it gently to release any adhesive or snaps.
- Once loose, pull the insole out in a smooth motion.
Inspect the insole and sandal for any signs of damage. If you find any, it’s best to replace the insole or repair the sandal. Clean insoles can return to their place once they are dry and fresh. Remember to align them correctly to maintain the shape and fit of the sandal.
Pre-treatment
Keeping your sandals fresh and clean starts with the insoles. Before diving into a deep clean, a crucial step is pre-treatment. This stage sets the stage for a more effective overall cleaning process. It’s simple and only takes a few minutes. Follow these steps to ensure you’re doing it right.
Shake Off Loose Dirt
Begin by removing your sandals and holding them upside down. Gently tap them against a hard surface to dislodge any loose dirt. You’ll want to do this outside or over a trash bin to avoid making a mess. Here’s a quick guide to shaking off that stubborn dirt:
- Hold the sandals firmly by the straps.
- Tap them gently to avoid damaging the insoles.
- Repeat the process a few times to ensure all the loose dirt falls off.
Sometimes, dry dirt can get stuck in the grooves of your insoles. In such cases, a more thorough approach may be needed. This is where a soft-bristled brush or an old toothbrush can come in handy. The table below shows the comparison of methods for removing loose dirt:
| Method | Effectiveness | When to Use |
|---|---|---|
| Shaking Off | Good for surface dirt | Quick clean-up |
| Brushing | Better for stuck dirt | Deeper pre-treatment |
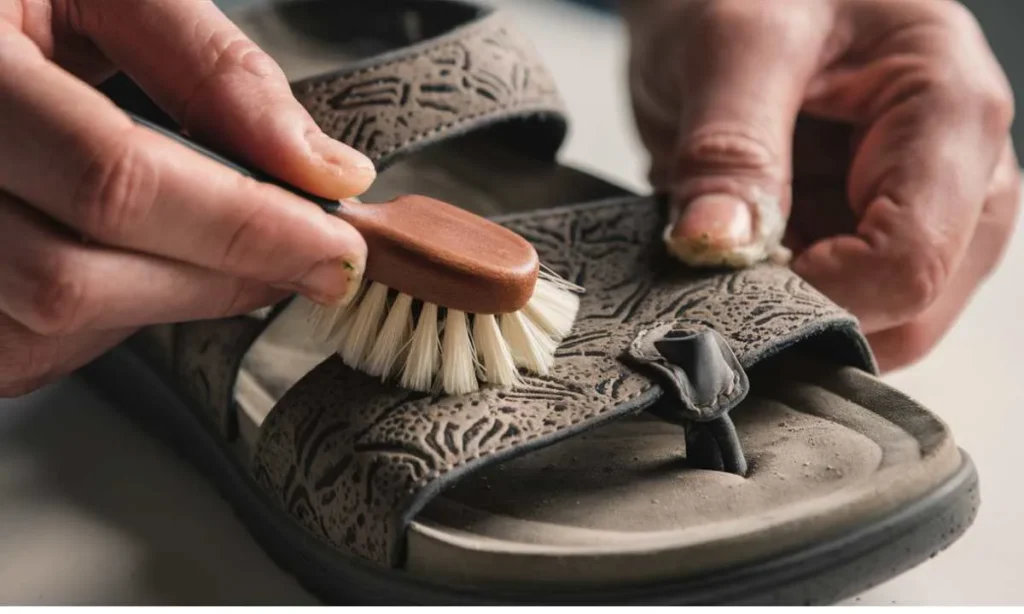
Brush Away Debris
After shaking off the loose dirt, use a soft-bristled brush to remove remaining debris. Brush gently to avoid damaging the insoles. Work in a single direction to lift and remove as much debris as possible. Here’s how to brush effectively:
- Choose a soft-bristled brush or an old toothbrush for delicate insoles.
- Brush in a consistent direction, not back and forth.
- Focus on crevices where dirt accumulates.
For stubborn debris, consider using a slightly damp brush. The moisture helps to loosen and remove particles that are stuck. Be sure not to soak the insoles, as this can cause damage or a longer drying time. Below is a breakdown of brushing techniques:
| Technique | Purpose | Tip |
|---|---|---|
| Dry Brushing | To remove loose particles | Gentle strokes are key |
| Damp Brushing | To loosen stubborn debris | Minimal water to avoid soaking |
Cleaning Methods
Keeping your sandals fresh and free from odors is essential, especially after a long, active summer day. The insoles absorb sweat and dirt, leading to bacteria growth. To tackle this, let’s explore effective cleaning methods for sandal insoles.
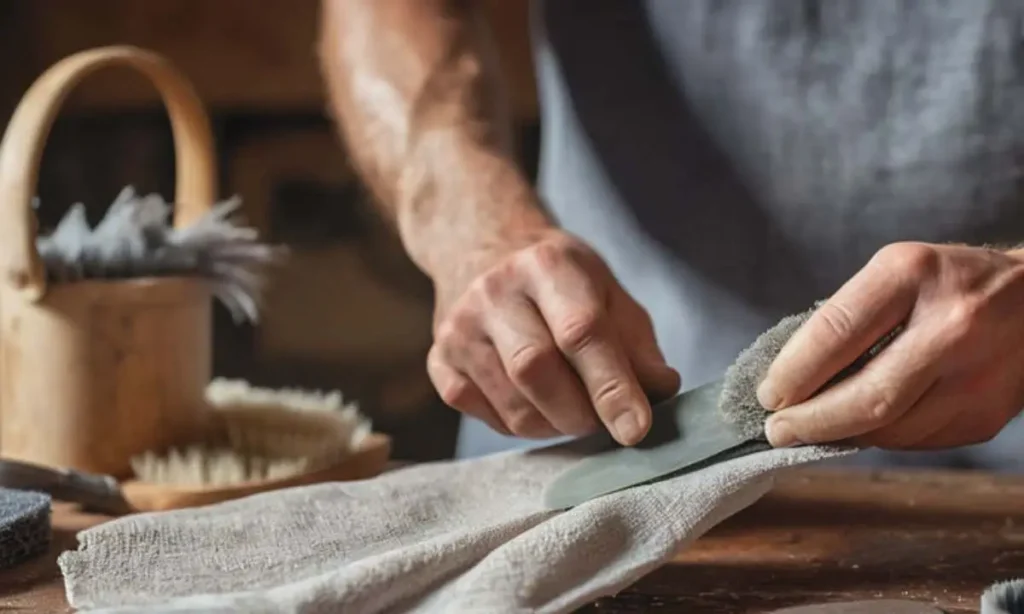
Hand-washing
Cleaning sandal insoles by hand is gentle and safe. Follow these steps for best results:
- Remove the insoles from the sandals, if possible.
- Prepare a solution of warm water and mild soap.
- Use a soft brush or cloth to apply the soapy water.
- Gently scrub the insoles to remove dirt and stains.
- Rinse with clean water to wash away soap residue.
- Pat the insoles with a towel and let them air dry.
Do not soak insoles for too long, as it may damage them. For stubborn stains, use a mix of baking soda and water. Apply the paste, let it sit for 15 minutes, then scrub and rinse.
| Material | Cleaning Agent | Brush Type |
|---|---|---|
| Foam | Mild Soap | Soft-bristled |
| Leather | Specialized Cleaner | Soft cloth |
| Cork | Vinegar Solution | Soft brush |
Machine-washing
Machine washing is a quick way to clean insoles. Keep these points in mind:
- Check if the insoles are machine-washable.
- Remove any loose dirt before placing them in the washer.
- Use a gentle cycle with cold water and mild detergent.
- Place insoles in a mesh bag to protect them during the wash.
- Avoid bleach and harsh chemicals that could damage the material.
- Once done, remove and air dry completely before use.
Never put insoles in the dryer as the heat can warp or shrink them. For extra freshness, add half a cup of vinegar to the rinse cycle. This natural deodorizer will help eliminate tough odors.
| Material | Wash Cycle | Drying Method |
|---|---|---|
| Foam | Gentle | Air Dry |
| Fabric-covered | Gentle | Air Dry |
| Rubber | Standard | Air Dry |
Drying The Sandals Insoles
Cleaning the insoles of sandals keeps them fresh and extends their life. After washing, drying them properly is crucial. It prevents mold and bad smells. Here’s how to dry insoles correctly.
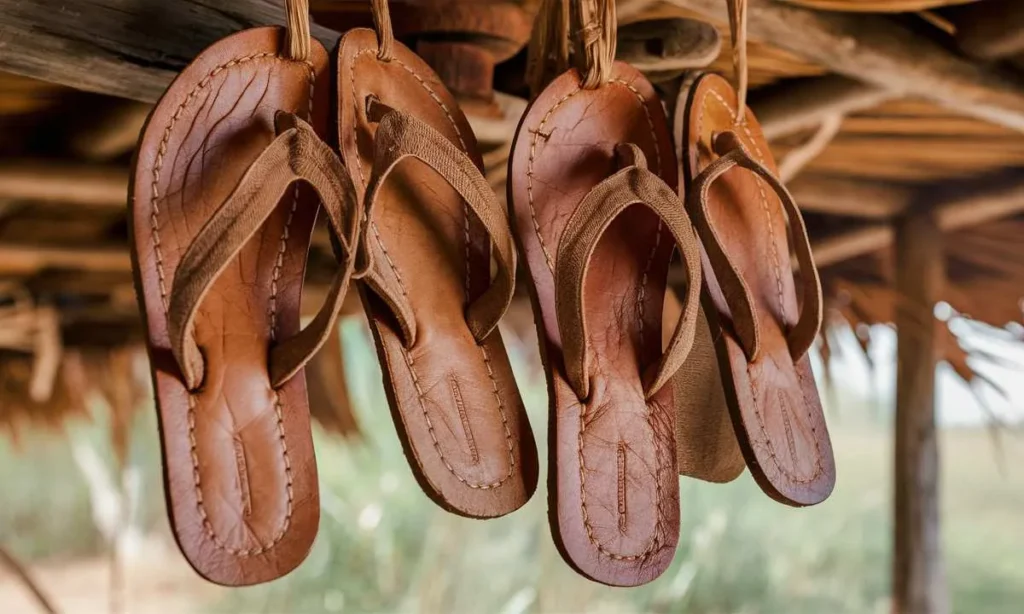
Air-drying
The best way to dry insoles is by air. It’s gentle and safe. Follow these steps for perfect results:
- Pat them dry. Use a towel to soak up excess water.
- Lay them flat. Place them on a clean surface in a well-ventilated area.
- Avoid direct sunlight. It can warp or fade the insoles.
- Rotate them. This ensures all sides dry evenly.
| Step | Action | Tip |
|---|---|---|
| 1 | Remove excess water | Be gentle to maintain shape |
| 2 | Place in airy space | Good airflow speeds drying |
| 3 | Keep away from heat | Prevents damage |
Don’t rush the process. It takes time, but it’s worth it. Your insoles will thank you!
Using A Dryer
Sometimes, you might need to dry insoles fast. A dryer can help, but be careful. Here’s a safe method:
- Check the label. Ensure they can handle the heat.
- Use low heat. High temperatures can ruin them.
- Add towels. They prevent banging and speed up drying.
Remember: Not all insoles can go in the dryer. Always check first. If in doubt, air-dry to be safe.
| Do | Don’t |
|---|---|
| Read care instructions | Use high heat |
| Use dryer balls | Leave unattended |
| Check often | Ignore odd noises |
This quick method is handy, but it’s not for every insole. When in doubt, choose air-drying.
Disinfecting And Deodorizing
Cleaning the insoles of sandals is vital for foot health and comfort. Over time, sandals absorb sweat, leading to unpleasant odors and bacteria growth. Disinfecting and deodorizing insoles keeps them fresh and extends their life. This section provides easy-to-follow steps to tackle these issues.
Using Vinegar Solution
Vinegar is a powerful, natural disinfectant that can kill odor-causing bacteria. To create an effective vinegar solution for your sandal insoles, follow these simple steps:
- Combine equal parts of water and white vinegar in a bowl.
- Soak a soft cloth or sponge in the mixture.
- Wring out excess liquid to avoid over-saturating the insoles.
- Gently scrub the insoles with a damp cloth.
- Let the insoles air dry completely before using them again.
Remember to test the vinegar solution on a small insole area first. This ensures colorfastness and prevents damage.
| Ingredient | Quantity |
|---|---|
| Water | 1 part |
| White Vinegar | 1 part |
Use this table as a guide to mix your vinegar solution. Adjust the quantities based on the number of insoles you need to clean.
Applying Baking Soda
Baking soda is another excellent choice for deodorizing insoles. It neutralizes odors without harsh chemicals. Here’s how to use it:
- Sprinkle a generous amount of baking soda directly onto the insoles.
- Ensure full coverage, especially on areas that come into contact with the foot.
- Leave the insoles with the baking soda overnight for maximum absorption.
- Shake off or vacuum up the baking soda the next day.
For extra freshness, you can add a few drops of essential oil to the baking soda before applying. This leaves a pleasant scent on your insoles.
Here’s a quick tip: alternate between vinegar and baking soda treatments to keep your insoles in top condition. Regular maintenance ensures long-lasting freshness and hygiene.
Putting Insoles Back
After a fun day out, sandals often need some care. Cleaning the insoles is key to keeping them fresh. Once they’re clean, it’s time to put them back so you can step out again with comfort. Here’s how to do it right:
Ensure Insoles Are Completely Dry
Before putting insoles back into sandals, they must be totally dry. Here’s why:
- Wet insoles can lead to bad smells.
- They may also cause foot problems.
Follow these steps to dry them:
- Pat the insoles with a towel to remove excess water.
- Lay them flat in a well-ventilated area.
- Avoid direct heat like hairdryers as it can warp them.
- Let them sit until they feel dry to the touch.
Check for dryness:
| Part of Insole | Check Method |
|---|---|
| Top Surface | Press with a handit ; should feel dry, not damp |
| Bottom Surface | Look for any moisture spots |
| Edges | Pinch edges to ensure no water is squeezed out |
Reattach Insoles To Sandals
Once dry, it’s time to put the insoles back. Do it with care:
- Check the insoles and sandals for any damage.
- Align the insole with the sandal’s shape.
- Press down firmly from heel to toe.
- Ensure the edges stick well, with no bumps or gaps.
If your sandals have adhesive, follow these steps:
- Place a thin layer of shoe glue on the sandal bed.
- Position the insole carefully on top.
- Press down and hold for a few seconds.
- Wipe away any excess glue quickly.
- Leave them to set for the time the glue instructions say.
For non-adhesive insoles:
- Just place them inside the sandals.
- Press firmly to ensure they sit snugly.
Now your sandals are ready to wear again. They’re clean, fresh, and comfy!
Frequently Asked Questions
To clean a sandal’s footbed, gently brush away loose dirt. Mix mild soap with water and lightly scrub using a soft brush. Rinse with a damp cloth, avoiding full submersion. Let air dry away from direct sunlight. Avoid using harsh chemicals to preserve the material’s integrity.
To clean suede leather insoles for sandals, gently brush away dirt using a suede brush. Mix mild soap with water, lightly dab with a cloth, and apply to insoles. Avoid soaking. Blot with a dry towel, then let air dry away from direct heat or sunlight.
Begin by lightly brushing off any loose dirt from the suede insoles. Sprinkle a small amount of baking soda over them and let it sit overnight. The next day, brush away the baking soda gently, which will have absorbed odors and dirt, leaving the insoles refreshed.
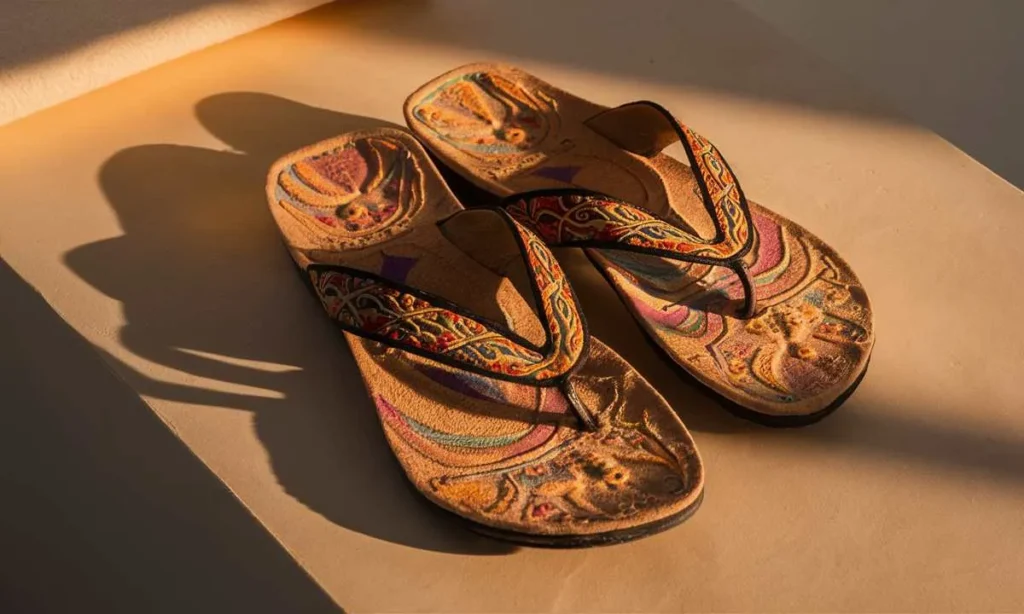
Conclusion
Keeping your sandals fresh and odor-free is simple with these steps. Regular cleaning prolongs their life and maintains comfort. Embrace these tips for insole care, and step out with confidence. Remember, a little effort goes a long way in preserving your favorite footwear.
Happy cleaning!

Leave a Reply