
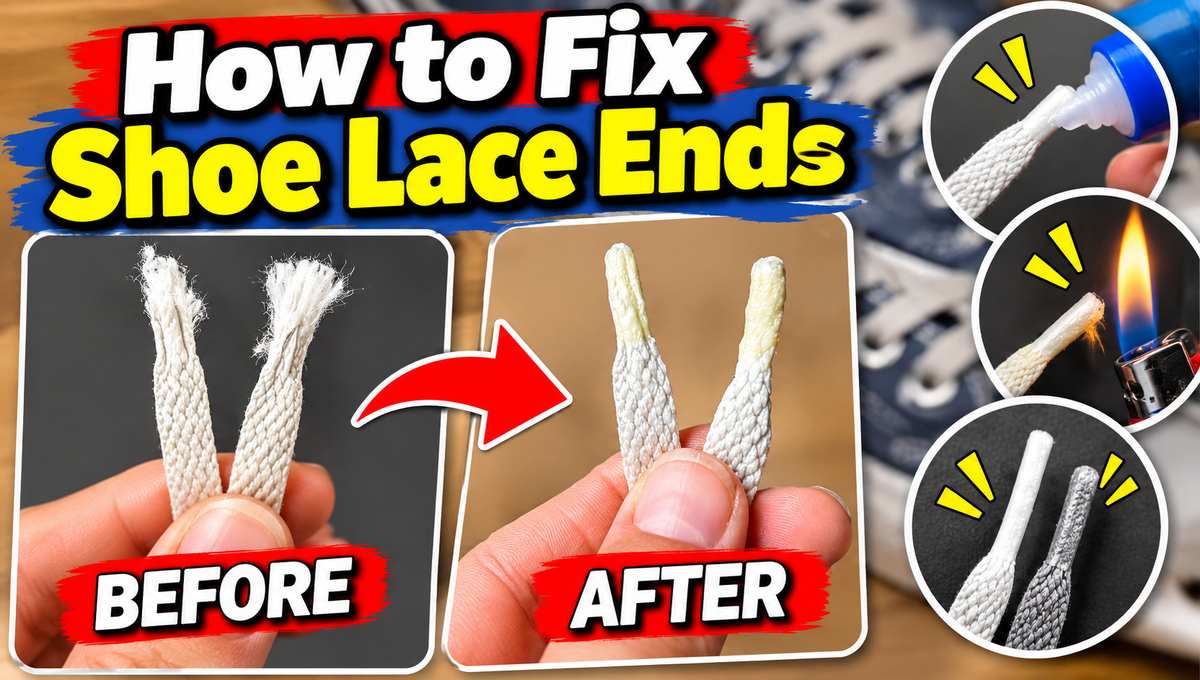
Frayed shoelace ends can make it difficult to thread your laces through shoe eyelets. If the plastic tips have broken off or the lace fibers are coming apart, you can often fix them at home without buying a new pair.
The easiest way to fix shoe laces ends is to use clear heat-shrink tubing. If you don’t have any, a drinking straw can help as a temporary guide for shaping the lace, while clear fabric glue or nail polish can stiffen the fibers. For a quick emergency fix, clear tape can work until you have time for a better repair.
In this tutorial, you’ll learn how to fix shoe laces ends DIY, which method works best for different types of laces, and how to avoid making the repaired tips too thick for your shoes.
Quick Answer: How to Fix Shoe Lace Ends
The best repair depends on what you have at home and how badly the lace is damaged.
- Best overall: Use heat-shrink tubing to make a narrow, protective tip.
- Best no-sew option: Apply a small amount of clear fabric glue and shape the end while it dries.
- Best emergency fix: Wrap the frayed end with clear tape.
- Best replacement: Fit a new metal or plastic aglet if the original tip is missing or badly damaged.
The small plastic or metal tip at the end of a shoelace is called an aglet. Its job is to keep the fibers together and make the lace easier to thread through the holes in your shoes.
Why Do Shoe Lace Ends Fray?
Before choosing a repair, check what has happened to the tip. The right method depends on whether the lace is frayed, the original aglet has come off, or the lace itself is breaking.
| Problem | Likely cause | Best solution |
|---|---|---|
| Threads are loose and fuzzy | Repeated friction and wear | Trim and fit heat-shrink tubing |
| Plastic tip is cracked or missing | The original aglet has worn out | Replace it or use shrink tubing |
| Lace end is flat and difficult to thread | The fibers have spread apart | Shape it with fabric glue or a replacement tip |
| Lace keeps unraveling after trimming | The cut fibers aren’t secured | Add a suitable protective tip |
| Lace is broken or very thin near the end | The fibers are worn through | Trim only if enough length remains, or replace the lace |
If the lace is damaged along its length rather than just at the tip, replacing it is usually more sensible than trying to repair the aglet alone.
Tools and Materials You’ll Need
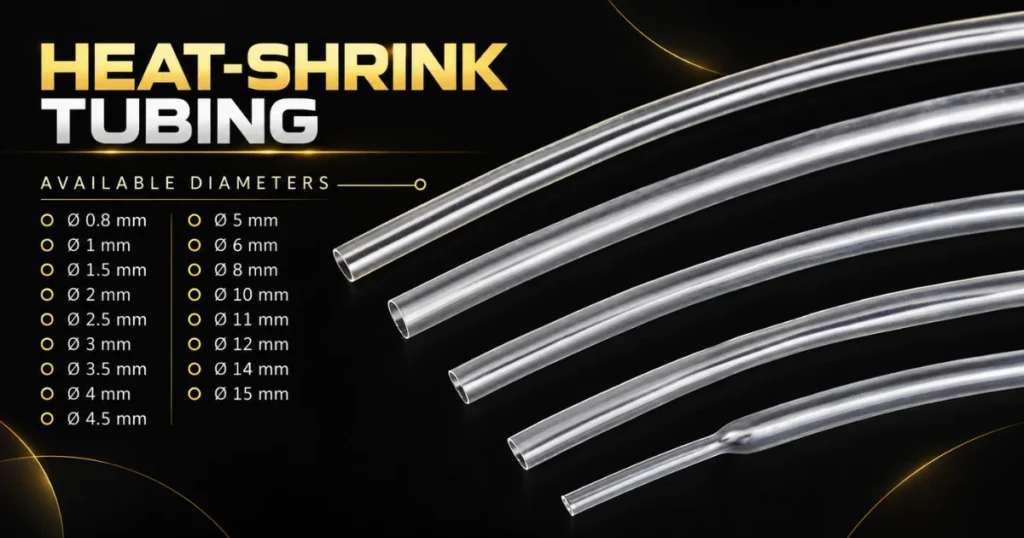
Heat-shrink tubing
Best for a neat, firm tip that helps prevent fraying.
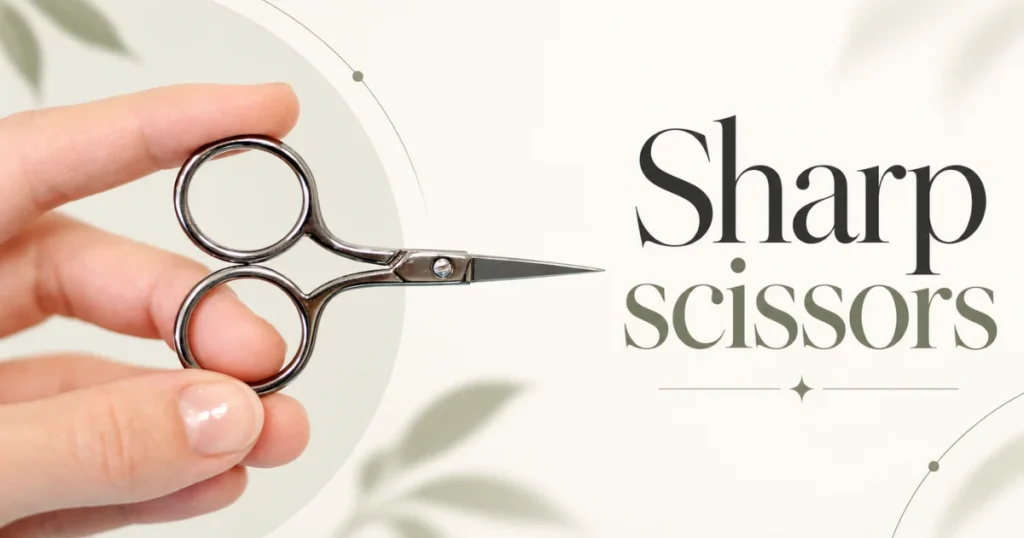
Sharp scissors
For trimming loose fibers and cutting the tubing.
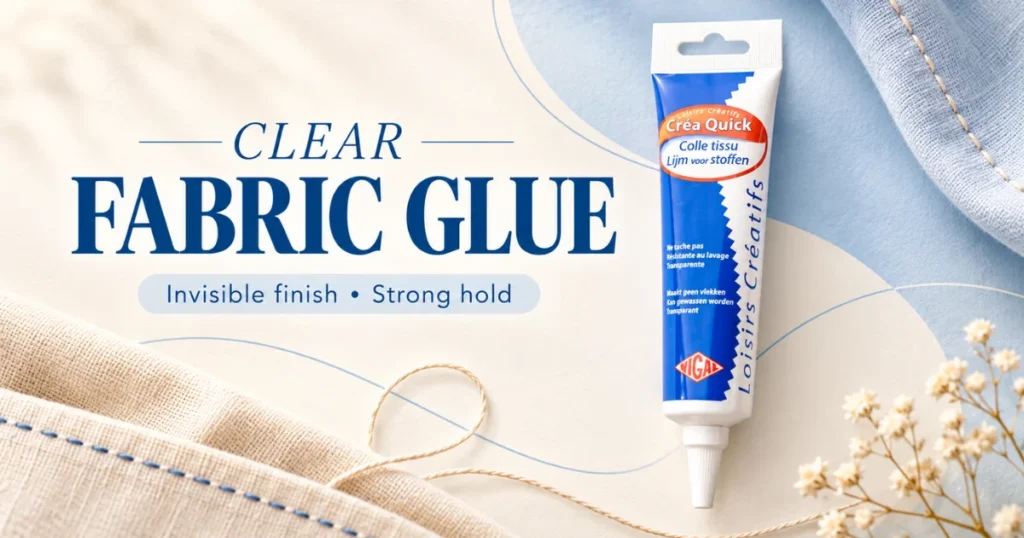
Clear fabric glue
A useful no-sew option when tubing isn’t available.
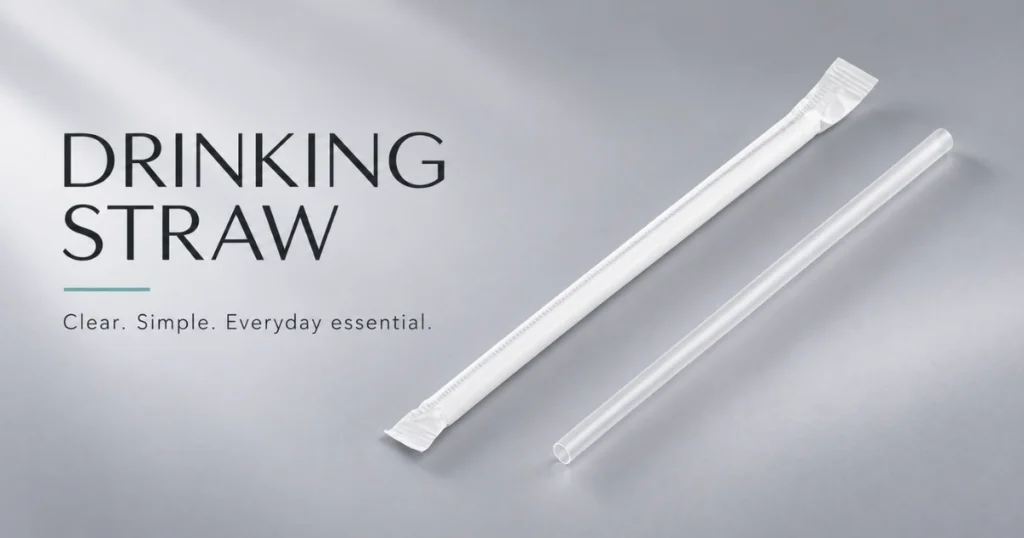
Drinking straw or clear tape
Optional household materials for a temporary repair or shaping aid.
For the recommended tubing method, you’ll also need a heat source, such as a suitable heat gun. A hair dryer may work if it gets hot enough for the tubing you choose.
Method 1: Fix Shoe Lace Ends With Heat-Shrink Tubing
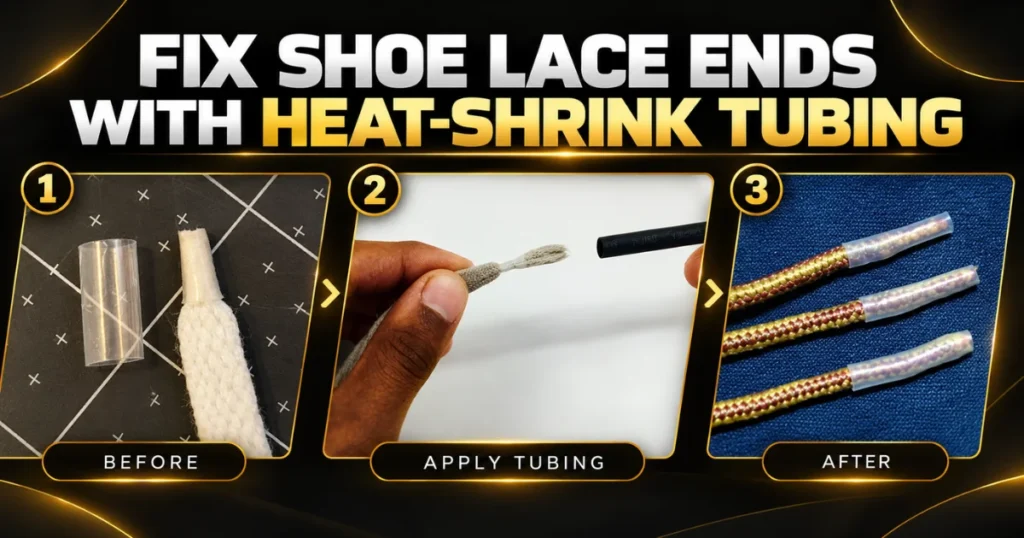
This is the best all-around DIY method if you want to restore the narrow, firm shape of a shoelace tip. The tubing tightens around the lace when heated, helping hold the fibers together.
What you’ll need
- Clear heat-shrink tubing
- Sharp scissors
- A heat gun or a compatible heat source
- Needle-nose pliers, if needed to hold the tubing safely
Step-by-step instructions
Step 1: Remove the damaged fibers.
Lay the shoelace on a flat surface. Use scissors to cut off the loose, fuzzy threads until you reach a compact section of lace.
Cut as little as possible. If the lace is already short, removing too much material may leave you without enough length to tie your shoes comfortably.
Step 2: Choose the correct tubing size.
Slide a short piece of tubing over the end to check the fit before heating it. It should fit over the lace without crushing or bunching the fibers, then shrink tightly around the end.
If the original aglet is still intact on the other end of the same lace, use it as a guide for the new tip’s length and thickness.
Step 3: Cut the tubing to length.
For a neat finish, use the original aglet as your guide. If it’s missing, a short piece around 1.5 to 2 cm may be a reasonable starting point, depending on the lace thickness and the tubing you have.
Make sure the tubing covers the frayed section without extending unnecessarily far onto the undamaged lace.
Step 4: Position the tubing.
Gather the loose fibers together and slide the tubing over them. Align the end of the lace with the end of the tubing so the lace tip doesn’t stick out.
Step 5: Apply gentle, even heat.
Follow the tubing manufacturer’s heating instructions. Keep the heat moving around the tubing rather than holding it in one spot. Stop when the tubing has shrunk snugly around the lace.
Avoid overheating the lace, since synthetic fibers can melt, deform, or become brittle. Keep your fingers away from the hot tubing, and use pliers when appropriate.
Step 6: Let it cool completely.
Leave the repaired lace undisturbed until the tubing has cooled. Check that the tip is smooth, secure, and narrow enough to pass through the shoe’s eyelets.
Step 7: Test the repaired tip.
Thread the lace through one eyelet before relacing the entire shoe. If it catches, feels too bulky, or slips off, remove the faulty tubing and try again with a better-fitting piece.
Expected result: A firm, narrow tip that helps keep the lace fibers together. Its durability depends on the tubing fit, the lace condition, and the quality of the repair.
Method 2: Fix Shoe Lace Ends With a Straw
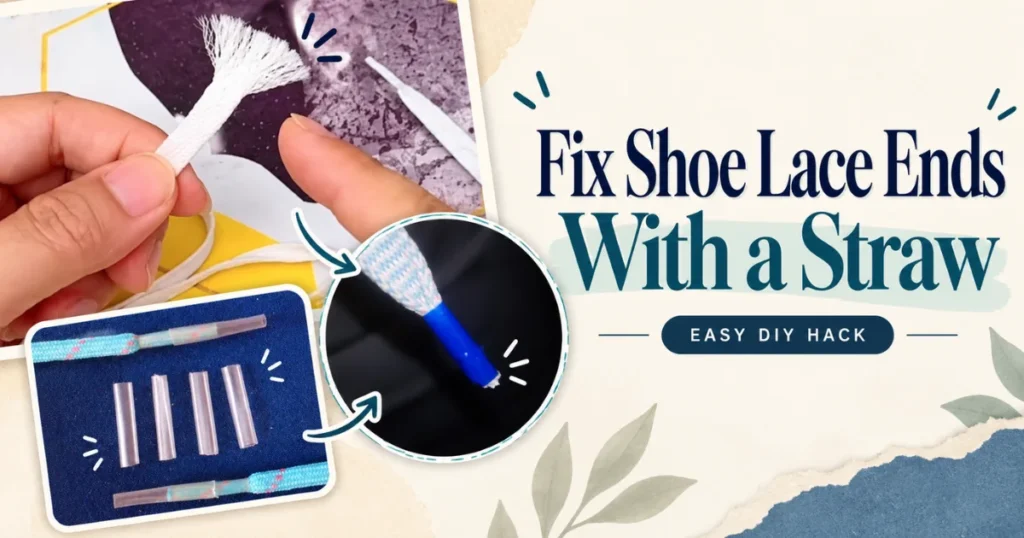
If you’re searching for how to fix shoe laces ends with a straw, it’s important to know that an ordinary drinking straw is different from heat-shrink tubing. A drinking straw won’t shrink tightly around a shoelace when heated, and heating it with a flame can melt the plastic.
You can use a small piece of a straw as a temporary sleeve, but it may be too wide to pass through narrow shoe eyelets.
What you’ll need
- A clean plastic drinking straw
- Scissors
- Clear tape
- A ruler
Step-by-step instructions
- Trim the frayed end. Cut away loose fibers without shortening the lace more than necessary.
- Check the straw’s width. Hold the straw against the shoe’s eyelet to see whether the finished repair could fit through it. Most ordinary drinking straws will be too wide for this purpose.
- Cut a short piece. Make a small sleeve long enough to cover the damaged section.
- Fit the sleeve over the lace. If the straw is too wide to slide onto the end, cut it lengthwise and wrap it around the lace instead.
- Secure it with tape. Wrap a small amount of clear tape around the sleeve, keeping the outside as smooth and narrow as possible.
- Test the fit. Try threading the repaired end through an eyelet. If it catches, slips, or feels bulky, remove the sleeve.
Expected result: A temporary covering that can help contain frayed fibers. It isn’t a close substitute for a proper aglet, and the repair may come loose during use.
My recommendation: If you have a straw but no other supplies, clear tape alone may be easier to apply. For a more durable repair, choose heat-shrink tubing or a replacement aglet.
Method 3: Fix Frayed Shoelaces With Clear Fabric Glue
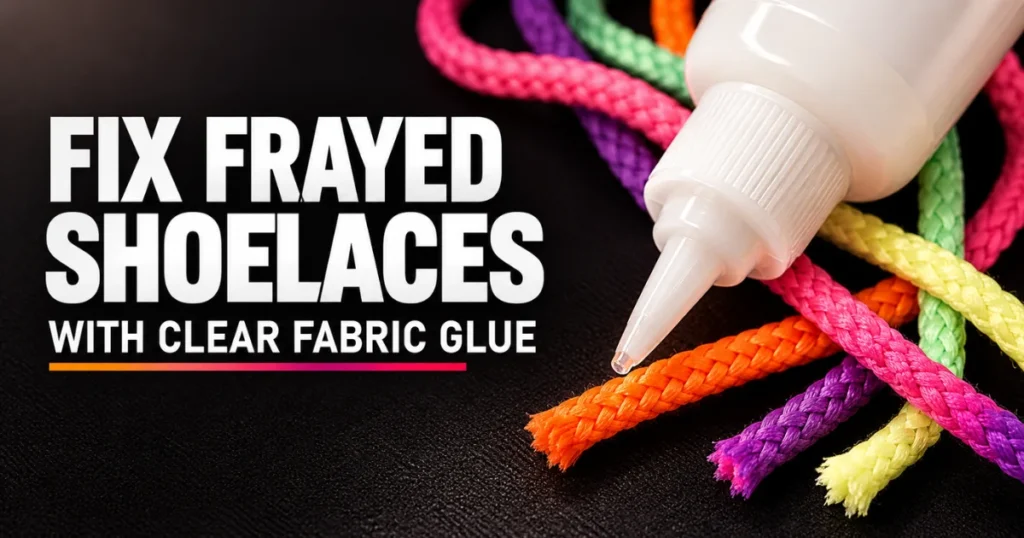
Fabric glue is a useful choice if you want to fix shoe lace ends without sewing or using heat. It can stiffen loose fibers and make a frayed tip easier to thread through the eyelets. Glue-based tips are a recognized alternative to replacing the original aglet, although their durability varies with the glue and lace material.
What you’ll need
- Clear fabric glue
- Sharp scissors
- A small scrap of paper or disposable surface
- Optional disposable gloves, if recommended by the glue manufacturer
Step-by-step instructions
- Trim the loose threads. Remove only the fibers that stick out from the lace. Keep the end as even as possible.
- Apply a small amount of glue. Follow the product instructions and coat the final section of the lace lightly. Avoid soaking the entire end, which can make it stiff and bulky.
- Shape the tip. Gently press the fibers together with a gloved hand or a small tool, following the glue’s instructions. Form a narrow tip rather than a flat lump.
- Check the thickness. Compare it with the undamaged tip on the other end. The repaired section should be slim enough to pass through the eyelets.
- Allow it to dry fully. Follow the drying and curing time on the label. Don’t thread the lace while the glue is still wet.
- Test the repair. Once dry, try passing the end through an eyelet. If the tip is too thick, avoid forcing it through.
Expected result: A firm, shaped end without heat or sewing. It is a simple option for minor fraying, but the glue can crack or wear away with repeated bending and pulling.
Important: Avoid using instant superglue for this method. It can bond skin quickly, cure too rapidly to shape properly, and create a hard or brittle tip. Use a glue product suitable for the material instead.
Which Shoelace Repair Method Is Best?
| Method | Difficulty | Best use | Main limitation |
|---|---|---|---|
| Heat-shrink tubing | Easy | A firm, tidy replacement tip | Requires suitable tubing and controlled heat |
| Clear fabric glue | Very easy | Minor fraying without heat | Can become stiff or wear away |
| Straw and tape | Very easy | A temporary emergency fix | Can be too bulky for eyelets |
| Replacement aglet | Easy to moderate | A missing or badly damaged original tip | Requires a correctly sized replacement |
For most people, heat-shrink tubing is the best overall choice because it forms a close-fitting sleeve around the lace. Fabric glue is a good alternative when you don’t have tubing, while the straw method is best treated as a short-term workaround.
Troubleshooting: Common Shoelace Repair Problems
The repaired tip won’t fit through the eyelet
Likely cause: The tubing, glue, or straw sleeve is too thick.
What to do: Remove the bulky repair and start again with a narrower material. Don’t force it through the hole, as this may damage the eyelet or pull the repair loose.
The lace keeps fraying after you trim it
Likely cause: The cut fibers haven’t been secured.
What to do: Add a fitted sleeve or a thin layer of suitable fabric glue. If the lace has worn thin beyond the very tip, replacing it is usually the better option.
The heat-shrink tubing slips off
Likely cause: The tubing is too large, hasn’t shrunk enough, or doesn’t grip the lace material well.
What to do: Let the tip cool, then remove the loose tubing and try a better-fitting size. Follow the manufacturer’s heating instructions rather than applying more heat indiscriminately.
The glue makes the lace hard and lumpy
Likely cause: Too much glue was applied or the fibers weren’t shaped evenly.
What to do: If the glue hasn’t cured, follow the product’s cleanup instructions. If it has hardened into a thick lump, trim or remove the damaged section only if sufficient lace length remains, then try again with less glue.
The shoelace is now too short
Likely cause: Too much of the frayed end was cut off.
What to do: Don’t trim the opposite end just to make both laces look equal. If the lace is too short to tie securely, replace the pair with laces of a suitable length.
How to Keep Shoelace Ends From Fraying Again
A little care can help reduce wear on repaired laces.
- Avoid pulling hard on the tips. Loosen the laces before removing your shoes instead of dragging the ends through tight eyelets.
- Keep the repair slim. A bulky tip can catch against the eyelet and place extra strain on the lace.
- Inspect the fibers occasionally. If the sleeve loosens or the lace starts to unravel again, repair it before the damage spreads.
- Follow the care instructions. If the shoes and laces can be washed, use their recommended cleaning method and check that the repair remains secure afterward.
If the lace is badly worn, broken, or frayed in several places, a new pair is often more reliable than repeated repairs.
Frequently Asked Questions
1. How do you fix shoe lace ends DIY without buying anything?
For a temporary fix, trim loose fibers and wrap the tip neatly with clear tape. Check that it still fits through the eyelets, and replace the tape if it loosens.
2. Can you fix shoelace ends with a drinking straw?
Yes, a short piece of straw can act as a temporary sleeve, but it may be too bulky for small eyelets. An ordinary drinking straw doesn’t shrink like heat-shrink tubing.
3. Can you use nail polish to fix frayed shoelaces?
Clear nail polish can stiffen small amounts of loose fibers and create a makeshift tip. Apply it sparingly, allow it to dry fully, and remember that repeated bending may cause the coating to crack.
4. Is heat-shrink tubing better than glue for shoelace ends?
Heat-shrink tubing is generally the better option when you want a close-fitting sleeve around the lace. Glue is easier to use without heat, but its durability depends on the product and the lace material.
5. What should you do if a shoelace end breaks off completely?
Trim away the damaged fibers if enough length remains, then fit replacement aglet hardware or suitable heat-shrink tubing. If the lace is too short or badly worn, replace it rather than risking an insecure knot.

Leave a Reply