we’re about to embark on a journey that demystifies the art of liberating your feet from the Peloton shoe cage sans the elusive tool. Yes, you read that right
Now, why bother taking off the shoe cage in the first place? Well, imagine this: your Peloton becomes your trusty workout sidekick, but sometimes, it needs a bit of TLC. Removing the shoe cage lets you give your buddy a good cleaning, maybe adjust things for a comfier fit, or even try out a different pair of kicks. It’s like giving your Peloton a spa day, and who doesn’t love that?
Why Take Off the Shoe Cage?
Taking off the shoe cage from your Peloton might sound like a simple tweak, but it can make a big difference in how comfy and effective your workouts are. One common reason to do this is to get that Goldilocks fit. We all have different feet, right? So, having the ability to customize the shoe cage ensures your feet feel snug and happy during those intense rides.
Picture this: you’re halfway through your workout, and instead of focusing on your form and cadence, you’re wiggling your feet to find that sweet spot. That’s where customization comes in handy. Whether you have wide or narrow feet, or you just want a different feel, taking off the shoe cage allows you to find the perfect fit. Plus, if you’ve got any specific foot issues or quirks, like bunions or arch discrepancies, customization can be a game-changer for your comfort.
Why Customize? Comfort & More Power!
Now, let’s talk about the perks of customizing that shoe cage. First and foremost, it’s all about comfort. Think of it like finding the coziest pair of sneakers for a long walk – your Peloton shoes should be no different. A customized shoe cage means less discomfort, fewer pressure points, and a more enjoyable time on the bike.
But it’s not just about feeling good; it’s also about performing at your best. Imagine your feet are perfectly aligned, hitting the pedals in a way that feels natural. That’s what customization can do. It helps you achieve better pedaling mechanics, more efficient workouts, and hey, maybe even a little extra power in those legs. Whether you’re a seasoned pro or just starting, tweaking that shoe cage can level up your Peloton game.
By making these adjustments, you’re not just riding – you’re riding in a way that suits you best. So, let’s dive into how you can make these changes without breaking a sweat or needing a toolbox!
Ensuring Safety: A Vital Step in Peloton Shoe Cage Removal
When it comes to tweaking your Peloton experience by removing the shoe cage, safety takes center stage. Think of it as strapping on your helmet before hopping on a bike – it’s that important. The Peloton is a smart machine, but tinkering with its parts requires a bit of caution to avoid any unintended “whoops” moments.
Crafting a Safe Space: Setting the Scene
Picture this: You’re in a well-lit, clutter-free space, ready to tackle the shoe cage. Start by giving your Peloton some breathing room. Clear the floor, make sure the bike is on solid ground, and, trust me on this, avoid any ninja-style obstacles. Having ample space means fewer chances of accidental bumps, trips, or other dance moves you didn’t plan on.
Oh, and it’s a good idea to gear up appropriately. Think comfy workout clothes and reliable sneakers – the kind you’d wear for a jog. Safety isn’t just about the Peloton; it’s also about keeping yourself comfy and injury-free.
Navigating Risks: Know Before You Go
Now, let’s talk risks. We’re aiming for a smooth shoe cage removal, not a Peloton pedal party mishap. Watch out for unexpected movements – think of it like keeping a hand on your hat in a gust of wind. Tensions can shift, and we don’t want any pinched fingers or accidental dances with the pedals.
Another friendly heads-up: balance matters. Imagine your Peloton as your workout buddy; you want them steady and reliable. If the bike isn’t properly stabilized, there’s a chance it might pull a little wobble act – and no one wants that.
Lastly, if you’ve got any health concerns or doubts, check in with your healthcare pro. We’re all about feeling good, and they can give you the green light for your shoe cage shenanigans.
In a nutshell, stay safe, set the stage right, and be mindful of potential pedal party pitfalls. It’s your Peloton adventure – make it a smooth ride!
Understanding the Shoe Cage Mechanism
How Shoes Stick to Your Peloton
Picture your Peloton ride as a thrilling adventure, and your shoes are the trusty sidekicks keeping you securely in the saddle. The magic happens through a clever combo of straps and a buckle system. The main hero here is the ratcheting buckle, working like a seatbelt for your shoes, making sure they stay snug and comfortable throughout your cycling escapades.
Inside the Shoe Cage Secrets
Let’s peek inside the shoe cage. It’s like a superhero suit for your shoes, made tough with materials like plastic or metal. There are these adjustable straps that wrap around your shoes, hugging them close. The star of the show, the ratcheting buckle, takes the spotlight, letting you fine-tune the fit. It’s like having a personal shoemaker right on your Peloton.
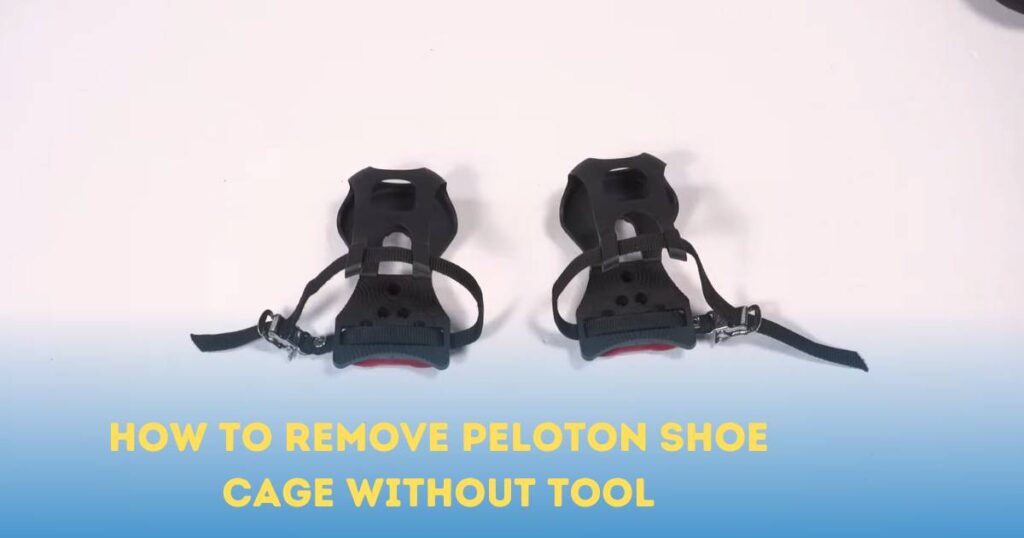
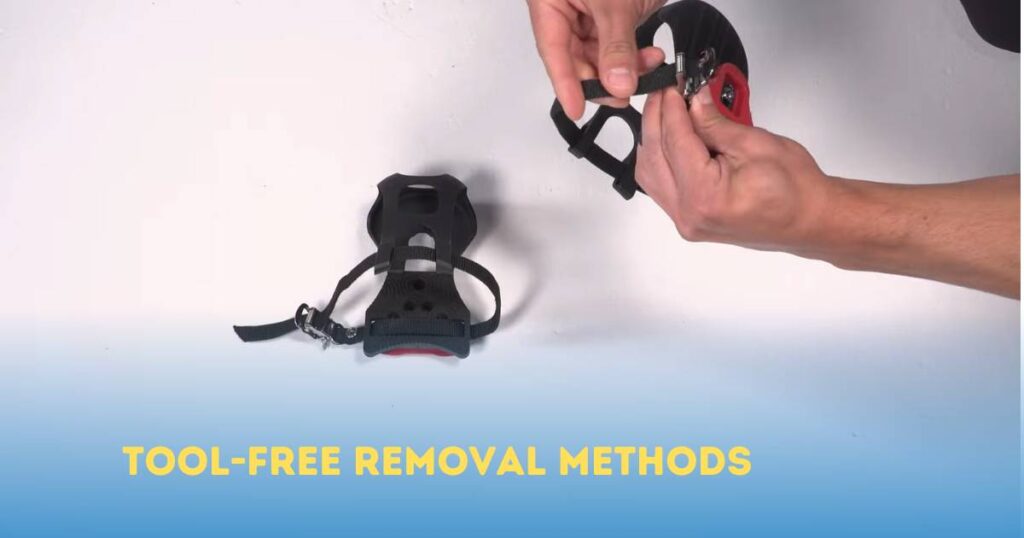
Tool-Free Removal Methods
Method 1: Manual Release
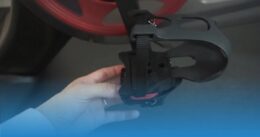
So, you want to free your Peloton shoe cage without diving into the toolbox? No problem! Let’s try the “manual release” trick. First things first, flip your pedal over and look for a little button or lever at the back. It’s like the magic key to unlocking your shoe cage.
Now, take a close look at your Peloton’s user manual or browse some online tutorials for your specific model. These often have cool pictures or videos showing exactly where to find and how to operate this secret button. Once you’ve got the lowdown, gently push or pull that button – you’ll feel the shoe cage letting go.
If you’re more of a visual learner, don’t worry; lots of Peloton users share tips online, complete with diagrams or videos. A quick search might reveal the secret handshake your pedal’s been waiting for. So, explore, engage, and unlock that shoe cage like a pro!
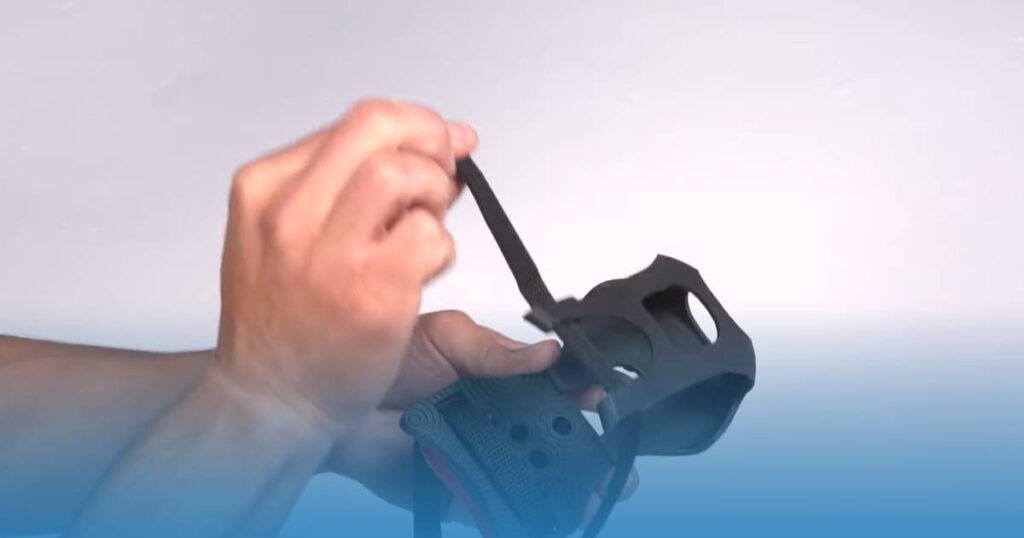
Method 2: Utilizing Household Items
No tools? No worries! Raid your kitchen for this next hack. Grab a flathead screwdriver or even a butter knife – simple, right? Now, slide that flathead screwdriver or butter knife between your shoe cage and the pedal. Position it like you’re opening a can of beans (but way safer).
Gently apply some pressure, wiggling the tool a bit until you feel the pedal giving in. It’s like using a makeshift key to unlock your shoe cage. Just be careful not to go all Hulk on it – the idea is a gentle nudge, not a pedal-smashing party.
Remember, take your time, be patient, and if things get tricky, there’s a whole Peloton community out there ready to help. You might even find someone who’s been in your shoes (cage) before. Happy unlocking!
Common Challenges When Taking Off Your Peloton Shoe Cage
Alright, so you’re all set to switch up your Peloton shoe game, but sometimes those shoe cages don’t play nice. One headache? Your shoe cage might feel like it’s glued on, especially if it’s been a while since the last swap. It’s like trying to open a stubborn jar – you twist, you turn, and it just won’t budge.
But don’t sweat it. First things first, make sure you’re giving the manual release or tool-free methods the proper love. If the shoe cage is still a tough cookie, sneak a peek for any sneaky screws or hidden lock secrets. Sometimes, it’s the little things that make life difficult. And here’s a pro tip: a little lube can work wonders. Think of it as WD-40 for your shoe cage – just enough to ease the parts without making a mess.
Quick Fixes for Shoe Cage Drama
Now, let’s talk solutions. If your shoe cage seems like it’s seen better days – maybe the springs are a bit rusty or things aren’t lining up – we’ve got some quick fixes. Swap out tired springs, keep an eye on worn-out bits, and don’t be afraid to give things a gentle nudge into place. It’s like tuning up your bike – a little maintenance goes a long way.
But here’s the deal: if your shoe cage is doing the cha-cha in all the wrong ways and you can’t figure out the moves, it might be time to dial in the pros. Don’t stress – Peloton’s got your back. Reach out to their support team or ring up a technician if things are getting too tricky. They’ve seen it all and can make your shoe cage shuffle a breeze.
When to Call in the Cavalry
Now, when is it time to throw in the towel and let the experts take over? If you’ve tried the hacks, followed the steps, and your shoe cage is still playing hard to get, it’s a sign to dial up Peloton’s support hotline. They’re the superheroes of shoe cage troubles. They’ll guide you through the maze, and if needed, set you up with a tech wizard who can perform some shoe cage magic.
Remember, your Peloton journey should be smooth, not a wrestling match with your shoe cage. So, if things get a bit too tangled up, there’s no shame in waving the white flag and letting the experts do their thing. Your Peloton – and your feet – will thank you for it. Happy riding!
Tips for Reinstallation
Securing the Shoe Cage Like a Pro
Let’s make sure that the shoe cage is locked in place nicely and snugly. Once you’ve got it off and ready to reinstall, take a close look at how it was before. Match up the grooves on the pedals with the slots on the shoe cage. Push it in gently, and you should hear a good solid click – that’s your green light. Give it a little wiggle to check, and if it feels steady, you’re on the right track. If it’s a bit shaky, don’t worry, just redo the steps until it feels rock-solid.
Making Friends with Alignment
Now, let’s talk comfort. Sit on your Peloton and make sure your feet land on the pedals just right. No funny angles or weird adjustments – it should feel natural. Double-check that your shoes sit comfortably in the cages, and when you start pedaling, there shouldn’t be any weird shifts. If things feel off, go back and tweak the installation a bit until it feels just like it did before.
Steady as You Go
Once everything is back in place, it’s time to take a quick test ride. Go slow, and pay attention to any odd sounds or shaky vibes. Experiment with your pedaling speed and pressure to be sure the shoe cage stays locked in, no matter how intense your workout gets. Keep an eye out for any signs of wear and tear over time – it happens, but catching it early is key.
Remember, if anything seems off while you’re riding, stop and check things out. Making sure your shoe cage is solidly installed means a smoother and safer ride every time. So, lock it in, find your comfort zone, and pedal on!
Maintenance and Customization
Keeping Your Peloton Shoe Cages in Good Shape
Let’s chat about how to keep your Peloton shoe cages working smoothly. It’s like giving your bike shoes a little TLC to make sure everything stays in tip-top condition.
Routine Check-Up: Think of your shoe cages like the tires on your bike. Give them a once-over regularly. Look for any signs of wear or tear, and if you spot anything fishy, fix it pronto. Tighten up any loose screws or straps to keep everything snug and secure.
Dirt-Free Zone: Nobody likes a dirty ride, right? The same goes for your shoe cages. Wipe off any sweat, dust, or whatever else might have hitched a ride on your shoes. A gentle scrub with a soft brush or cloth should do the trick. Just keep it simple – no need for heavy-duty cleaning supplies.
Screw It: Make sure all those screws and bolts are hanging tight. If they’ve started to loosen up, grab your trusty tool (a screwdriver works wonders) and give them a little twist to keep things firm. A wobbly shoe cage is no friend to a smooth workout.
Jazzing Up Your Shoe Cage Style
Now, let’s talk about making your shoe cages a bit more “you.” It’s all about adding a touch of personality without making things complicated.
Color Splash: Why stick to boring black or plain white when you can add a pop of color? Swap out your shoelaces for something vibrant or funky. It’s an easy way to bring some personality to your Peloton setup.
Strap Switch-Up: Feel like your feet need a bit more love? Explore different strap options. Some folks love the extra security of a snug fit, while others prefer a quick release. Find what suits you and your style.
Safety First: While it’s awesome to customize, always make sure you’re not sacrificing safety. Your shoe cages are there to keep your feet secure during intense rides, so any changes you make should still keep you firmly in place.
Remember, keeping things simple and making small changes can go a long way in making your Peloton experience uniquely yours. Happy riding!
Conclusion
Alright, let’s sum up what we’ve learned about kicking off our Peloton shoes without any fancy tools. Firstly, we explored why you might want to do this in the first place – be it for a quick clean-up or pimping your ride for a comfier spin. Safety first, of course, so we threw in some reminders about that. We took a closer look at the shoe cage setup, mentioning the usual tools, but fear not – our focus was all about going tool-free.
We walked through the steps of manually releasing the cage and getting creative with household items. No need for a toolbox, just a bit of patience and maybe a little MacGyver spirit. Easy, right?