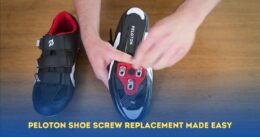
Pliers can be a handy addition, especially if you encounter any stubborn screws that need a bit of extra persuasion.
But let’s remember finesse. A torque wrench is like the secret sauce in your toolkit. It ensures you tighten the replacement screw just right—enough for stability without going overboard. Remember, it’s about precision, not brute force.
Building Your Peloton Toolkit
Creating a toolkit for Peloton shoe TLC doesn’t have to break the bank. Start with the basics: a sturdy toolbox to keep everything neat and easy to find. Invest in quality tools that feel good in your hands, reducing the chances of accidents.Throw in a small flashlight for those tight spots—it’ll be your sidekick in uncovering hi sidden screws or checking your shoes’ condition. And a soft cloth? That’s your ticket to a clean workspace and well-maintained Peloton shoes. With this toolkit, you’ll be the master of your Peloton domain, tackling peloton shoe screw replacements with confidence and precision.
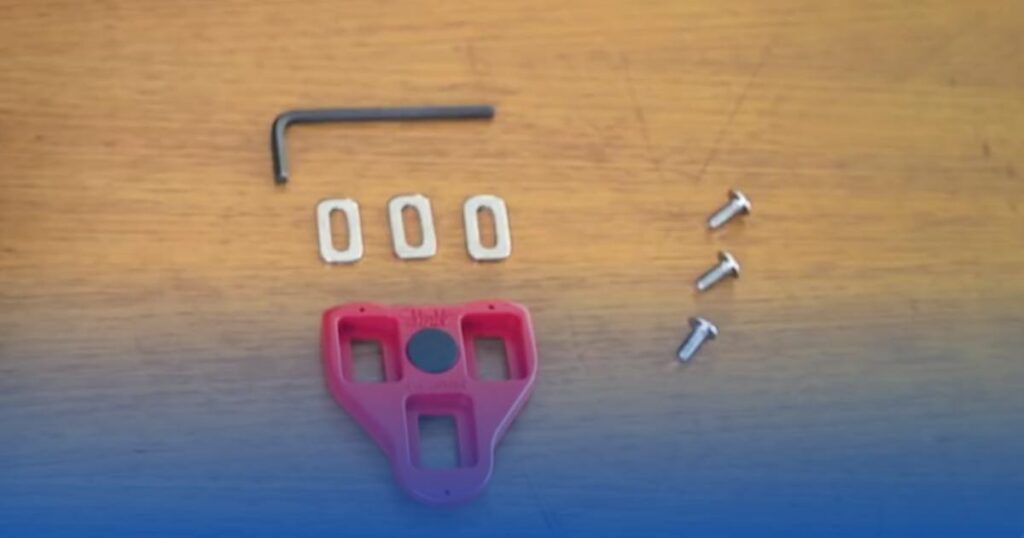
Step-by-Step Peloton Shoe Screw Replacement
Taking Out the Old Screw
First things first – let’s get that old screw out without any fuss. Find it around the cleat or sole, and grab a screwdriver that fits just right. Turn it gently to the left; no need to force it. If it’s being stubborn, a bit of lubricant can be a game-changer. Once it’s loose, take it out carefully and pay attention to its size for the next step.
Picking the Right New Screw
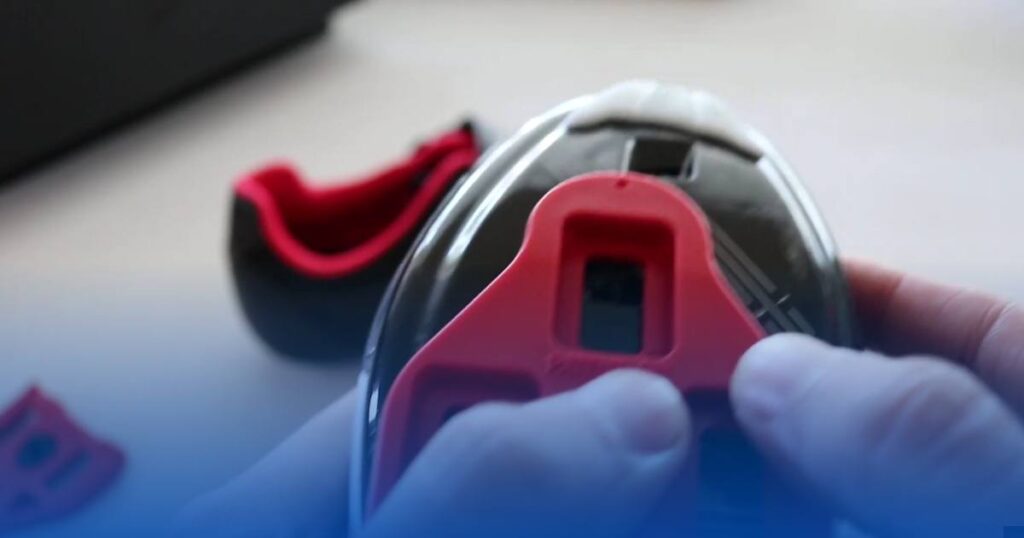
Now, choosing a replacement may sound complicated, but it’s a breeze. Measure the old screw so you know exactly what you’re looking for. Go for a rigid material like stainless steel – it lasts longer. And don’t forget the threading – match it up with the old one. If you’re unsure, Peloton’s advice or a quick chat with customer support can be a lifesaver. It’s like finding the perfect puzzle piece.
Locking in the New Screw
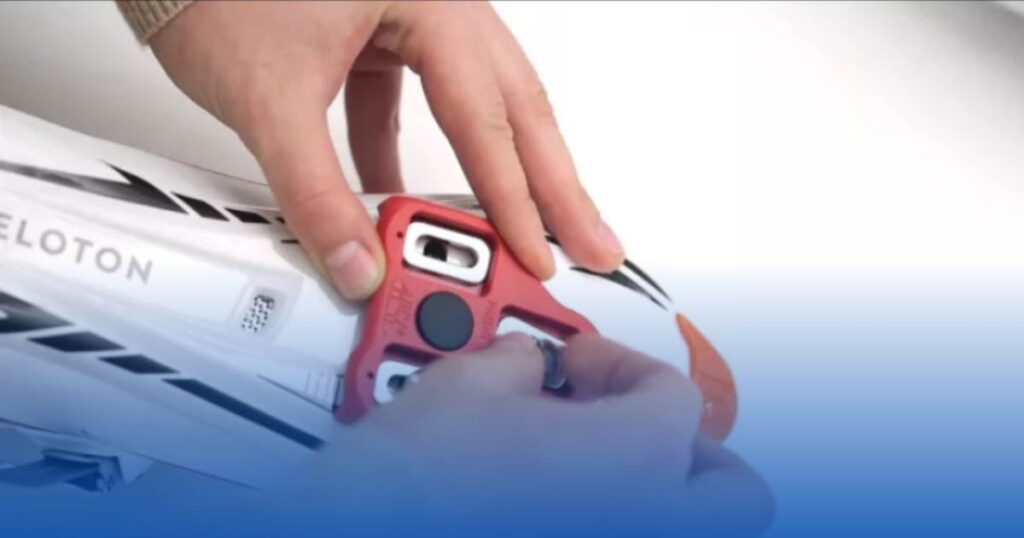
Time to secure that shiny new screw in place. Line it up, start turning it to the right by hand until it resists a bit, then grab your trusty screwdriver. Keep turning until it’s snug but not crazy tight. Testing the shoe’s stability is the last checkpoint. Give it a wiggle – all good? Fantastic. Now, you’re set for a smooth Peloton ride without any shoe surprises.
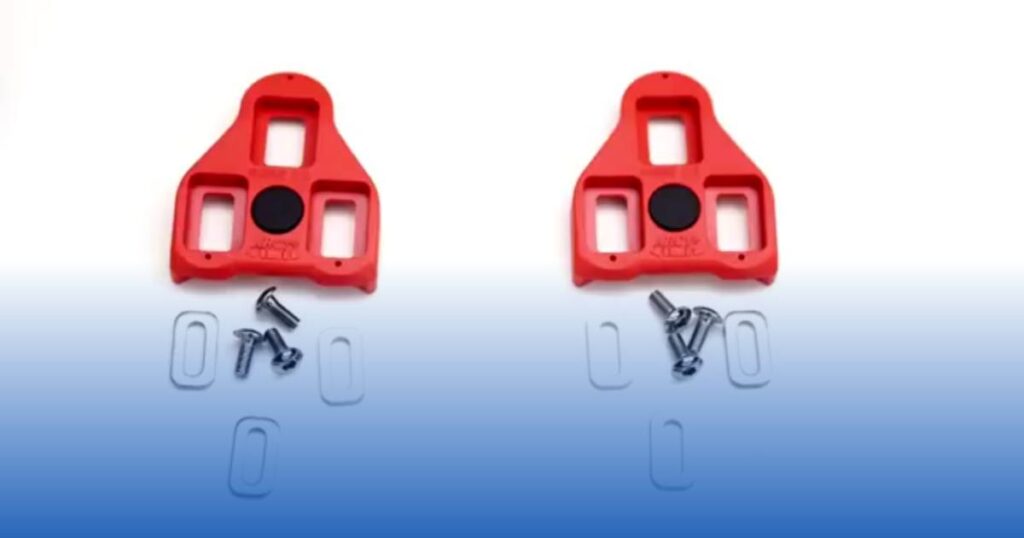
Troubleshooting Tips
Rescuing a Stubborn Screw
Getting a stuck screw to cooperate can feel like a battle, but fear not! Start by giving it a friendly soak in a penetrating oil or lubricant – think of it as a spa day for your screw. Gently tap around the screw with a rubber mallet; it’s like persuading it to come out for a cup of tea. If it’s still playing hard to get, bring in a screw extractor tool; just be gentle; we’re coaxing, not wrestling.
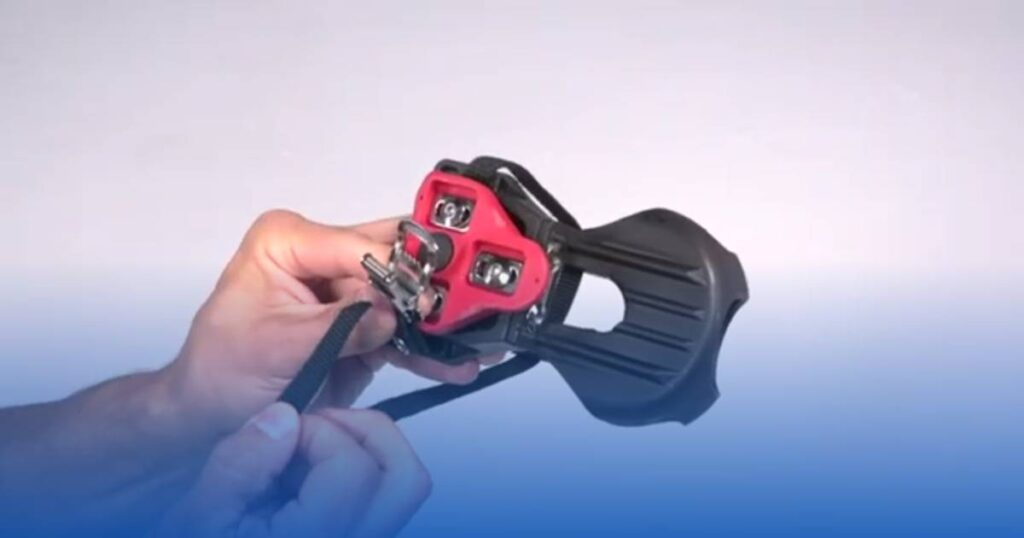
Securing the Replacement Screw
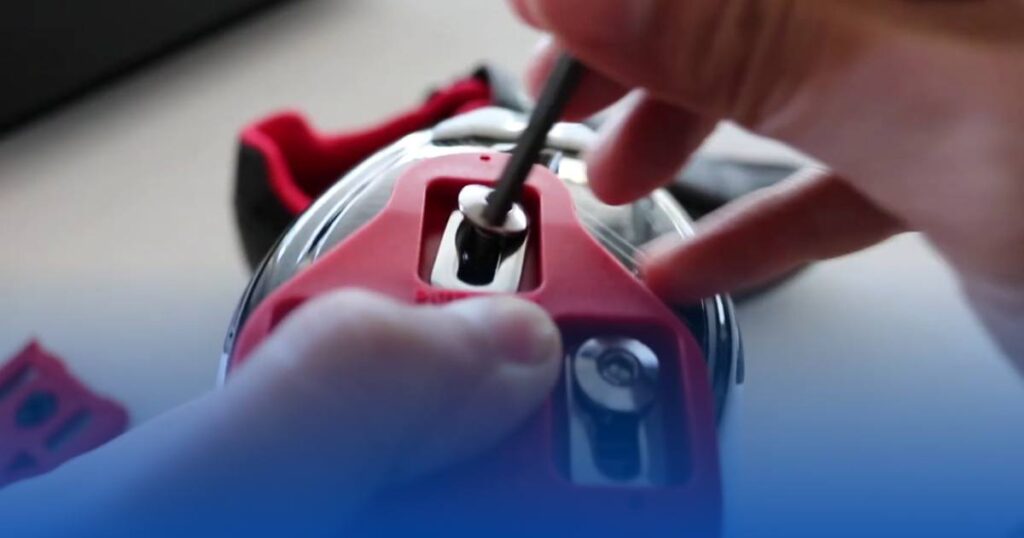
Now that you’ve dealt with the old rebel let’s make the new recruit feel at home. Carefully twist in the replacement screw, like matching puzzle pieces. Use the right screwdriver to give it a cozy, not-too-tight hug – we’re aiming for a snug, not a superhero grip. Test the waters with a gentle stability check; it’s like shaking hands to seal the deal. A happy screw ensures a smooth ride, so take a moment to create a connection that’ll withstand all your Peloton adventures.
Preventive Maintenance
Keep Your Peloton Shoes Going Strong
Now, let’s chat about how to make sure your Peloton shoes stick around for the long ride. It’s like giving them a little TLC to keep them performing at their best.
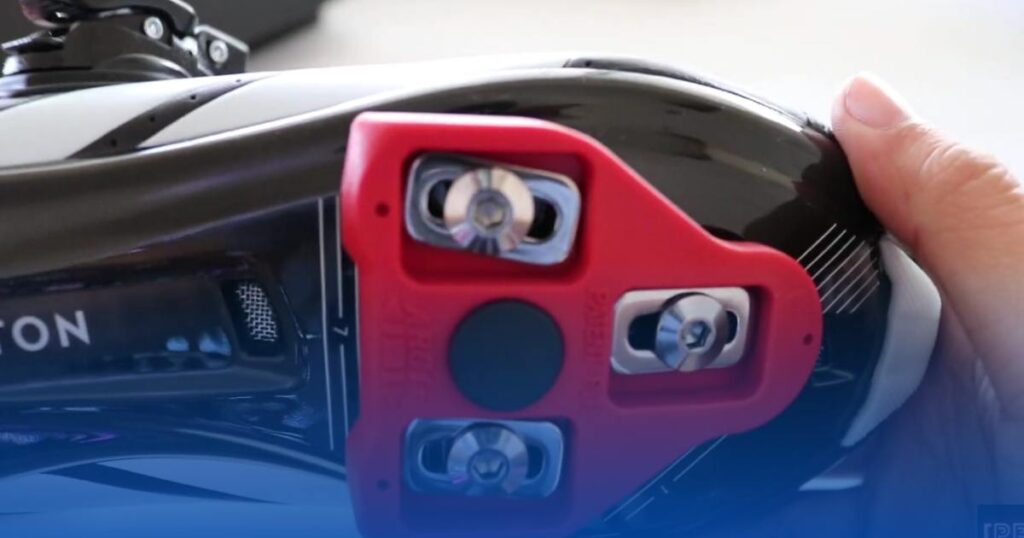
Regular Check-ups for Happy Shoes
Think of it like giving your shoes a quick health check. Every few weeks or after those intense sweat sessions, take a good look at the screws. Are there any signs of rust or wear, or are they feeling a bit loose? Tighten them up using the right tool. There’s no need to go Hulk-style – just a snug fit without going overboard.
Tips for a Screw’s Happy Life
Imagine your shoes are like a cozy home for your feet, and the screws are the friendly neighbors. To make sure everyone gets along, store your shoes in an excellent, dry spot. No extreme weather, please! Also, be kind to your shoes during workouts – no need to be rough. Treat them well, and they’ll happily support you during all those Peloton adventures.
So, there you have it – a simple routine to keep your Peloton shoes in tip-top shape. Happy feet, happy workout!
Frequently Asked Questions about Peloton Shoe Screw Replacement:
Q: How often should I replace the screws on my Peloton shoes?
A: It’s recommended to check the screws regularly for tightness. If they become loose or show signs of wear, it’s time to replace them.
Q: Where can I purchase replacement screws for my Peloton shoes?
A: You can buy replacement screws directly from Peloton’s official website or contact their customer support for assistance.
Q: Can I use any screws as replacements, or do they have to be specific to Peloton shoes?
A: It’s advisable to use screws specifically designed for Peloton shoes to ensure a proper fit and maintain the integrity of the shoe’s structure.
Q: How do I know if my Peloton shoe screws need replacement?
A: If you notice any wobbling or instability in your cleats, or if the screws appear worn or damaged, it’s time to replace them.
Q: Are replacement screws included when I purchase Peloton shoes?
A: Typically, Peloton shoes come with the necessary screws. However, it’s a good idea to check and have replacements on hand, as wear and tear can occur over time.
Q: Can I replace Peloton shoe screws on my own, or should I seek professional help?
A: Replacing the screws is a simple task and can be done at home. Follow Peloton’s official guidelines or refer to the user manual for step-by-step instructions.
Q: Do I need any special tools to replace Peloton shoe screws?
A: Usually, a standard screwdriver is sufficient for the replacement process. Ensure it fits the screw head properly to avoid any damage.
Q: Are there different screws for different Peloton shoe models?
A: Peloton may have specific screws for different shoe models. Check the product documentation or contact customer support to get the right replacement for your particular shoe.
Q: Can I use lubrication on the screws to prevent them from rusting or seizing?
A: Using a small amount of bike-specific grease or anti-seize compound on the screws can help prevent rust and make future replacements easier.
Q: What should I do if the screw is stuck or difficult to remove during replacement?
A: Apply a penetrating oil, let it sit for a while, and use a proper screwdriver. If the issue persists, seek assistance from Peloton’s customer support or consider professional help.
Conclusion
Recap of Key Points
Let’s take a quick stroll down the path we’ve paved together. We’ve decoded the subtle signals that your Peloton shoes might be giving about loose screws, armed ourselves with the right toolkit, and gracefully waltzed through the steps of peloton shoe screw replacement. It’s not just about fixing; it’s about reclaiming control over your workout world. The secret is out—those tiny screws matter. They hold the key to a smoother, safer ride. So, pat yourself on the back for mastering this overlooked but essential part of Peloton care.
Encouragement for Happy Pelotoning
Now, here’s the friendly nudge to keep the Peloton joyride rolling. Picture it as giving your workout buddy—a.k.a. your Peloton equipment—a high-five. Regular check-ins, a bit of TLC, and a dash of preventive magic can turn your exercise routine into a blissful, uninterrupted journey. Think of it as planting the seeds of longevity in your fitness garden. These small acts of love for your gear not only make each session a breeze but also ensure you’re investing wisely.
In your fitness goals. So, keep that equipment smiling, and let the good vibes flow during every spin. Happy Pelotonia!
<

